Why Slopes Are a Landscaping Challenge
A sloped yard isn't just a mowing inconvenience - it's an active drainage system. Gravity pulls water and loose soil downhill every time it rains, and without adequate plant cover or structural intervention, that process accelerates. Bare slopes can lose significant topsoil in a single storm event, degrading the nutrient-rich layer that plants depend on. Over time, unchecked erosion undercuts foundations, silts up storm drains, and leaves unsightly gullies across what could be productive garden space.
The good news is that slope landscaping follows a predictable logic: slow the water, hold the soil, and establish roots. Understanding your specific gradient, soil type, and drainage pattern - before buying a single plant - determines whether your investment holds up or washes away.
Start With a Soil Assessment
Sandy soils erode quickly and drain fast; clay soils can become waterlogged and slide when saturated. A basic soil test - available through most county extension offices - tells you your soil type, pH, and nutrient levels, helping you choose plants and amendments that will genuinely thrive on your slope.
Common landscaping misconceptions - like assuming grass will naturally stabilize any slope - can cost homeowners significantly. Turf grass, with its shallow roots, is among the least effective erosion controls on grades steeper than 4:1 and is notoriously difficult to mow safely on inclines.
What you will need
Step-by-Step: Stabilizing and Planting Your Slope
The following steps move from assessment through long-term maintenance, covering both structural and planting strategies. Work through them in order - skipping the assessment phase is one of the most common reasons slope projects fail in the first rainy season.
Retaining Walls May Require a Permit
In many US jurisdictions, retaining walls taller than 3-4 feet require a building permit and engineering review. Working without required permits can create legal complications and liability if a wall fails. Always check with your local building department before construction begins, and hire a licensed contractor for any significant grading or structural work.
Assess the Slope Gradient and Drainage Pattern
Measure your slope's gradient by calculating rise over run - the vertical drop divided by the horizontal distance. A 3:1 ratio (33%) is a common threshold: slopes gentler than that can often be stabilized with plants alone, while steeper slopes typically need structural support. Walk the slope after a rainfall to observe where water flows, pools, or cuts channels. These observations directly inform where you place plantings, swales (shallow channels designed to redirect runoff), or hard structures.
Choose an Erosion Control Strategy for Your Gradient
Match your approach to the severity of the slope:
- Gentle slopes (up to 3:1): Dense ground cover plants combined with organic mulch are often sufficient. Creeping juniper, crown vetch, and native sedges are proven performers.
- Moderate slopes (3:1 to 2:1): Combine plantings with erosion control fabric and consider adding a simple French drain or swale to redirect concentrated runoff.
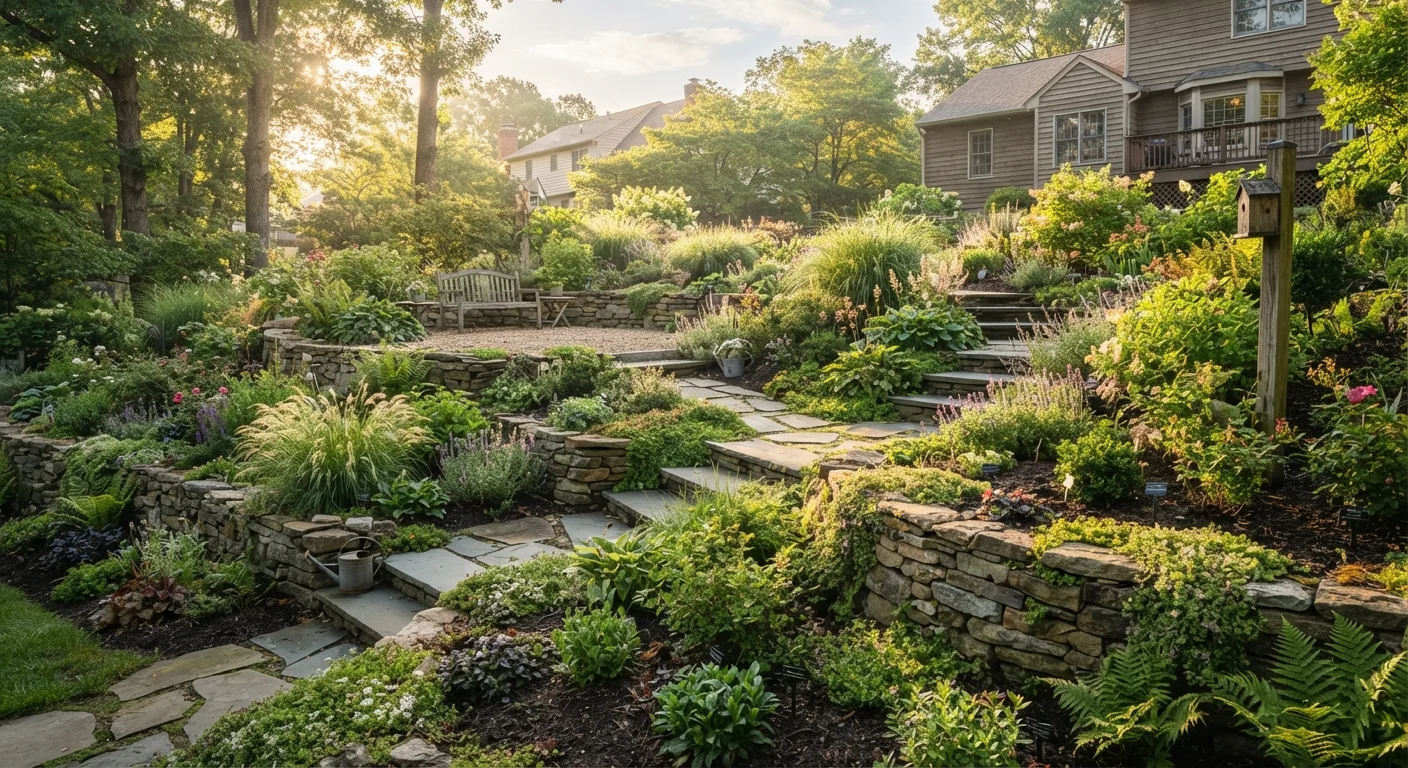
- Steep slopes (steeper than 2:1): Terracing with timber, stone, or concrete block retaining walls is usually necessary to create stable, plantable zones. Consult a landscape professional or geotechnical engineer for very steep or large slopes.
Install Terraces or Retaining Walls Where Needed
For DIY terracing, cut horizontal benches into the slope using a mattock, then build low walls (under 3 feet) with natural stone, pressure-treated landscape timbers, or interlocking concrete blocks. Each wall should lean slightly into the hill (called a batter) for stability. Backfill behind each wall with coarse gravel at the base for drainage, topped with amended planting soil. Tamp thoroughly after each layer. See our guide on combining hardscaping and softscaping for design principles that keep terraces looking intentional rather than industrial.
Lay Erosion Control Fabric on Bare Soil
Before planting, cover exposed soil with biodegradable jute or coir matting. Roll it down the slope in strips, overlapping edges by at least 6 inches. Secure every 18-24 inches with landscape staples driven flush to the ground. Cut X-shaped slits through the fabric at each planting hole. This matting breaks down naturally over one to three seasons as plant roots take over the stabilization work, so it requires no removal.
Select and Install the Right Plants
Root architecture is the key selection criterion for slope planting. Deep, fibrous root systems bind soil particles together and absorb rainfall before it becomes runoff. Strong candidates include:
- Ground covers: Creeping phlox, liriope, and native wild ginger spread horizontally and suppress weed competition.
- Ornamental grasses: Little bluestem and switchgrass offer deep root systems alongside year-round visual interest.
- Shrubs: Forsythia, native viburnums, and spirea anchor larger areas and add structure. For privacy on a slope, layered shrub plantings can serve double duty.
Plant on the uphill side of each terrace step and stagger rows to maximize coverage. Consult our guide on native versus ornamental plants to weigh regional performance against aesthetic preferences.
Apply Mulch and Set Up Irrigation
Apply 2-3 inches of organic mulch around all newly planted areas to retain moisture, regulate soil temperature, and further reduce erosion. Avoid mounding mulch against plant stems. For irrigation, drip systems or soaker hoses are significantly more effective on slopes than overhead sprinklers because they deliver water slowly at root level, reducing runoff. See how drip systems compare to sprinklers for setup guidance. For mulch selection, comparing mulch and gravel options can help you match the material to your drainage conditions.
Monitor and Maintain Through the First Growing Season
Inspect the slope after every significant rain event during the first season. Look for signs of rill erosion (small channels forming), fabric displacement, or plant heaving. Refill any channels immediately with soil and compact gently. Replace plants that fail to establish - gaps in coverage are entry points for erosion. A consistent seasonal maintenance routine strengthens the planting over time; a year-round lawn and landscape maintenance framework can help you build that habit.
Avoid Grading Near Utility Lines
Before any digging or significant soil disturbance, contact your local utility-locating service (dial 811 in the US) to have underground lines marked. Striking a buried gas, water, or electrical line during slope work is a serious safety hazard and can result in costly repairs.
Once plants are established - typically after one to two full growing seasons - the slope becomes largely self-sustaining. The initial labor investment pays dividends in reduced maintenance compared to repeatedly reseeding bare areas or patching eroded channels. For a complete picture of the tools and materials you'll need on hand, review the list below before breaking ground.
Mattock or Pick Axe
Breaks up compacted soil and shapes terraced planting beds on steep inclines.
Erosion Control Fabric (Jute or Coir Matting)
Holds disturbed soil in place while newly installed plants establish their root systems.
Landscape Staples
Secures erosion control fabric firmly to the slope so wind and rain don't displace it.
Drip Irrigation Kit
Delivers water directly to plant roots, minimizing surface runoff on slopes.
Hand Tamper
Compacts soil around newly set stones or timbers when building small terrace walls.
Carpenter's Level
Ensures terrace steps and retaining wall courses are plumb and level during installation.