Why Some Plumbing Repairs Are Within Your Reach
A dripping faucet or sluggish drain can feel like an urgent reason to call a plumber - but for many common household plumbing problems, the fix is more accessible than most homeowners realize. With the right preparation, a few basic tools, and a clear understanding of what you're dealing with, these repairs are manageable for a careful DIYer.
That said, not all plumbing problems are created equal. Work involving gas lines, main supply connections, permitted alterations, or anything inside finished walls should always go to a licensed professional. Our guide on permit requirements for DIY home repairs can help you identify which projects cross that line. For a broader look at the honest trade-offs of doing it yourself, see DIY Home Repairs: An Honest Look at the Trade-Offs.
The repairs below represent tasks that fall squarely within the DIY range for most homeowners - no specialized training required, just patience and the willingness to follow instructions carefully.
Fix a Dripping Faucet
A faucet that drips even when fully closed is almost always caused by a worn internal component - typically a washer, O-ring, or cartridge, depending on the faucet type. Ball, cartridge, ceramic disc, and compression faucets each have slightly different mechanisms, but replacement parts are widely available at hardware stores, and manufacturers often publish repair diagrams for their models.
Before starting, turn off the water supply valves under the sink and open the faucet to release residual pressure. Keep a towel and a small bucket handy. Photograph each step as you disassemble so reassembly is straightforward. Most dripping faucet repairs take under an hour and require only a screwdriver and adjustable wrench.
A worn washer or cartridge is usually all that stands between you and a silent faucet.
Stop a Running Toilet
A toilet that runs continuously after flushing wastes a significant amount of water and is almost always caused by one of three things: a faulty flapper, a float set too high, or a defective fill valve. All of these components live inside the tank - not in the supply line - and are inexpensive to replace.
Lift the tank lid and observe what happens after a flush. If water is spilling into the overflow tube, the float needs adjustment. If the flapper doesn't seal properly, it needs replacing. Replacement flappers and fill valves are straightforward swaps that require no special tools and minimal technical knowledge. Shut off the supply valve before starting, then flush to drain the tank.
Most running toilets are fixed with a flapper or float adjustment costing just a few dollars.
Clear a Slow or Clogged Drain
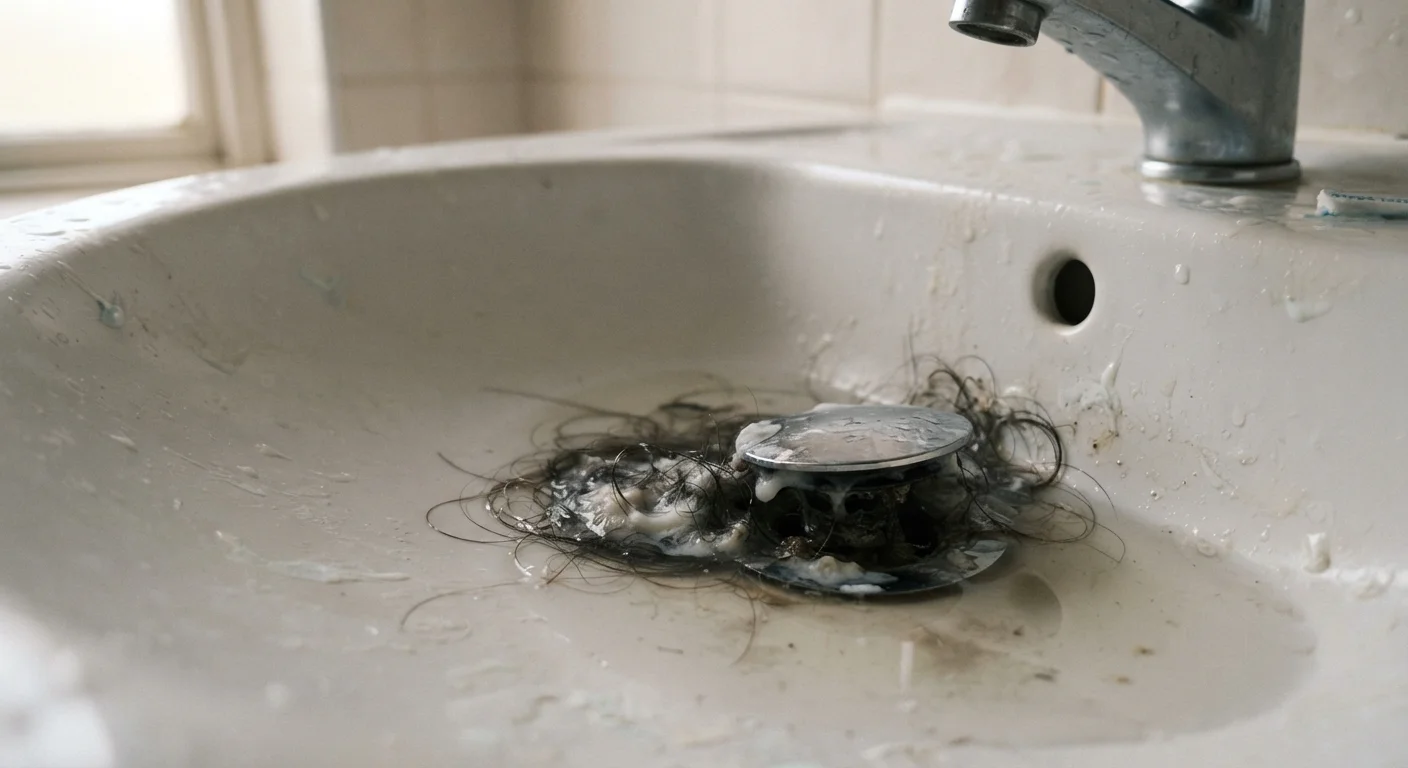
Slow drains in bathroom sinks and showers are usually caused by hair and soap buildup close to the drain opening - well within reach of a drain snake or a simple plastic hair-removal tool. Start with the least invasive method: remove the drain stopper if there is one, and use a drain snake or barbed drain cleaning tool to pull out accumulated debris.
Avoid using chemical drain cleaners as a first response. They can damage older pipes and often address only part of the blockage. A plunger with a flat bottom (the cup style) works well for sink clogs. For persistent or recurring problems, the cause may be further along the drain line - see our in-depth article on where drain clogs form and how to clear them for a more thorough approach.
Reaching just a few inches into the drain removes most bathroom clogs without chemicals or tools.
Replace a Showerhead
Swapping out an old or low-flow showerhead is one of the most beginner-friendly plumbing tasks there is. It requires no water shut-off at the main - just close the shower valve - and uses only a wrench and plumber's tape (also called thread seal tape or PTFE tape).
Unscrew the old showerhead by hand or with a wrench, being careful not to twist or stress the supply arm protruding from the wall. Clean the threads on the arm, wrap them with two or three layers of plumber's tape in the direction of the threads, then hand-tighten the new showerhead before giving it a quarter-turn with the wrench. Avoid overtightening, which can crack fittings.
Plumber's tape and a wrench are all you need to replace a showerhead in under 15 minutes.
Tighten or Replace a Toilet Handle
A wobbly or broken toilet handle is a simple fix that requires only an adjustable wrench. The mounting nut inside the tank is reverse-threaded on most toilets - meaning you turn it clockwise to loosen and counterclockwise to tighten. This trips up many first-timers, so keep that in mind before applying extra force in the wrong direction.
If the handle is cracked or the lift chain has come disconnected, replacement handles are inexpensive and sold at any hardware store. Shut off the supply valve before draining the tank if you need to access the chain or arm mechanism. Reattaching the chain to the flapper is simply a matter of clipping it to the appropriate hole on the arm to ensure proper flush tension.
Toilet handles use reverse threading - remember that before assuming the nut is stuck.
Fix a Leaky P-Trap Under the Sink
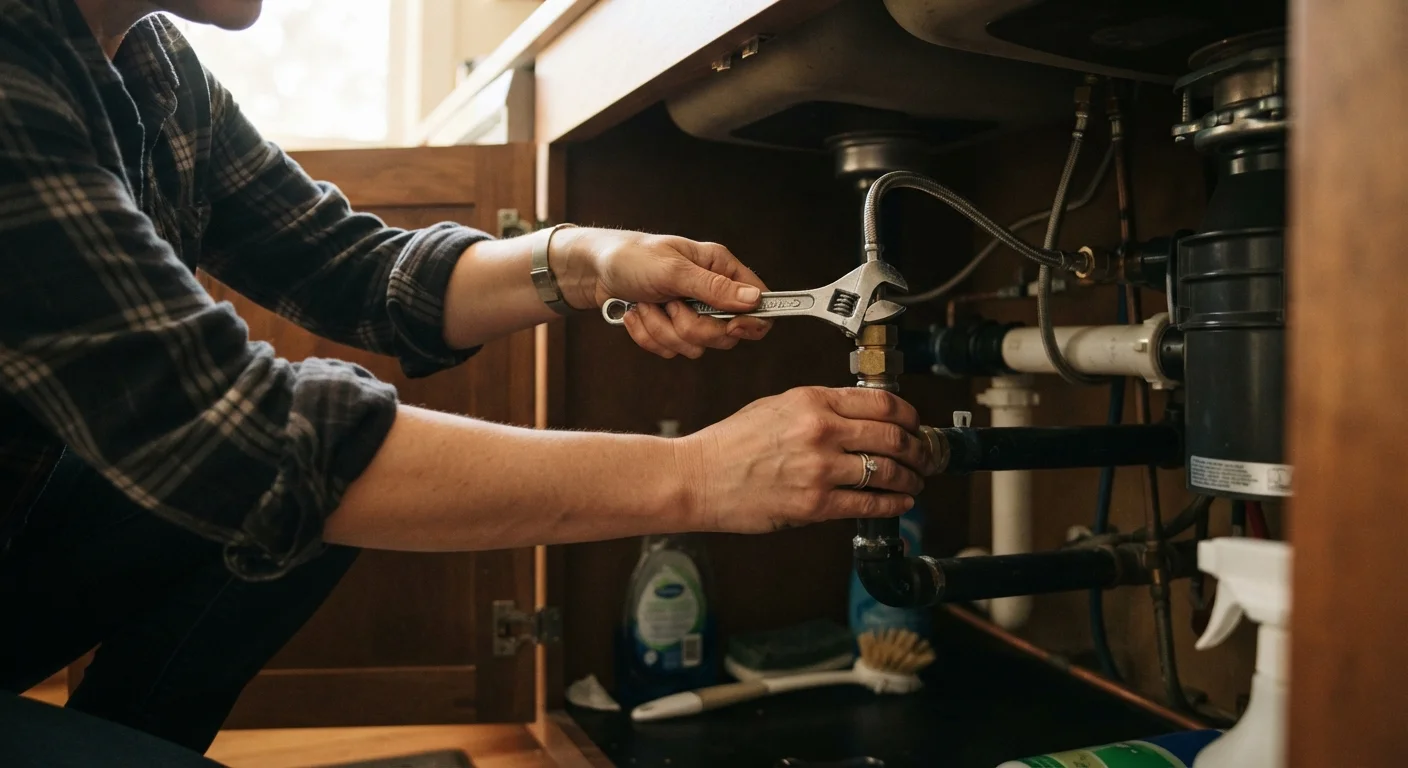
The P-trap is the curved pipe section beneath your sink that holds a small amount of water to block sewer gases. Leaks at the P-trap are common and usually stem from loose slip-joint nuts or worn washers inside the fittings. In most cases, you can tighten the nuts by hand - no tools required. If the leak persists, the internal washers may need replacing.
P-traps in modern homes are typically made from PVC plastic and can be disassembled and reassembled without pipe cement or soldering. Keep a small bucket under the work area to catch residual water. If the pipe itself is cracked or corroded, a full P-trap assembly replacement is still a manageable DIY task. Check our guidance on when a repair is enough versus when to replace if you're weighing that decision.
Many P-trap leaks stop with nothing more than hand-tightening the slip-joint fittings.
When to Put Down the Wrench
Even confident DIYers run into moments where stopping is the smartest move. If you open up a fixture and find corroded pipe connections, unexpected water damage, or anything that doesn't match the repair you expected, call a licensed plumber before going further. Improvising on plumbing can turn a minor fix into a costly water damage claim.
Keep a Basic Plumbing Kit Ready
Having a small kit on hand makes any repair faster and less stressful. Consider keeping an adjustable wrench, slip-joint pliers, a cup plunger, a drain snake, plumber's tape, and a small bucket in a dedicated spot. Knowing where your home's main water shut-off valve is located is equally important - find it before you ever need it.
For issues that keep coming back - particularly recurring drain clogs - the underlying cause may be deeper than a simple blockage. Our detailed guide on drain clogs: where they form and how to clear them covers how to diagnose persistent problems and recognize when professional help is warranted. You can also check our Home Systems hub for guidance on plumbing, HVAC, and electrical systems across your home.
Building your plumbing repair skills is a smart investment - but so is knowing your limits. The goal isn't to replace every professional service call; it's to handle what you genuinely can, confidently and safely.