Why Drains Clog Where They Do
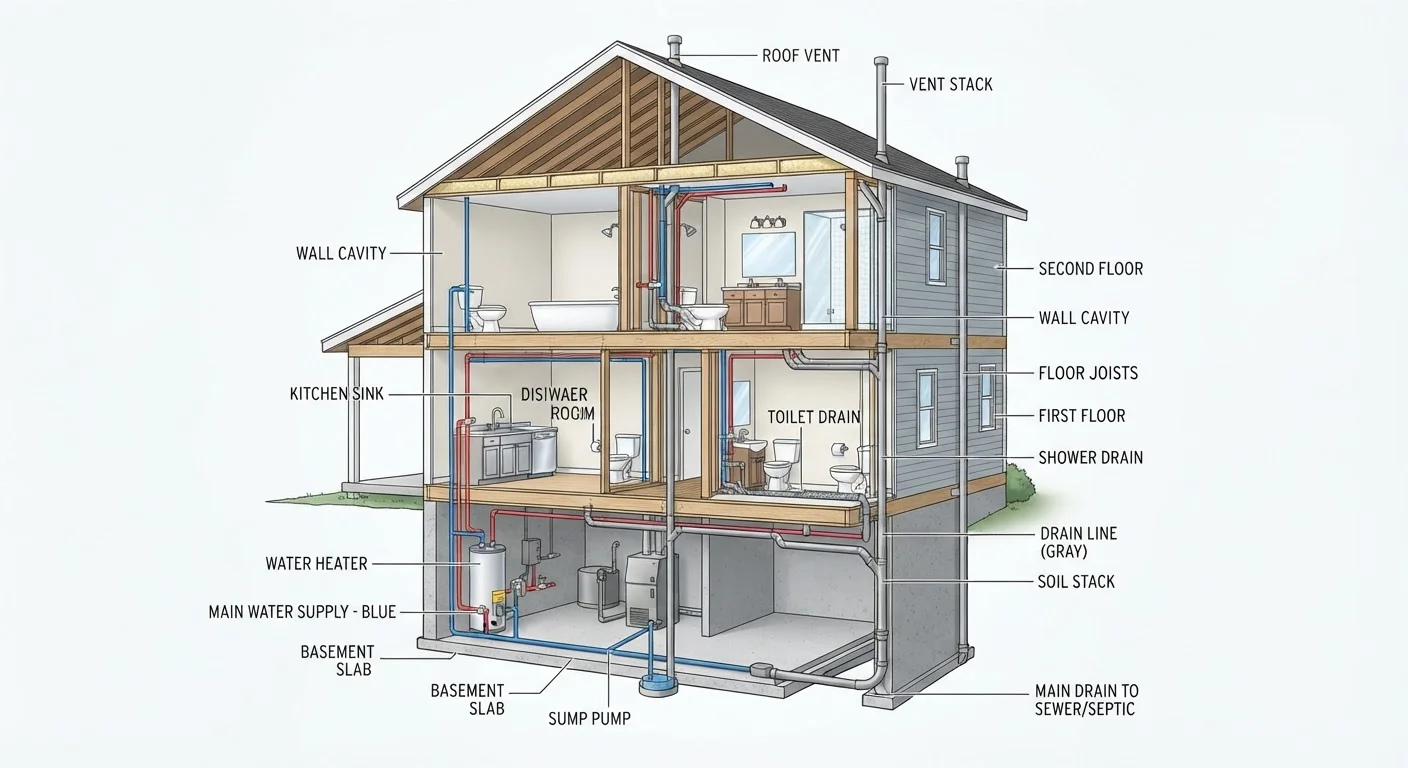
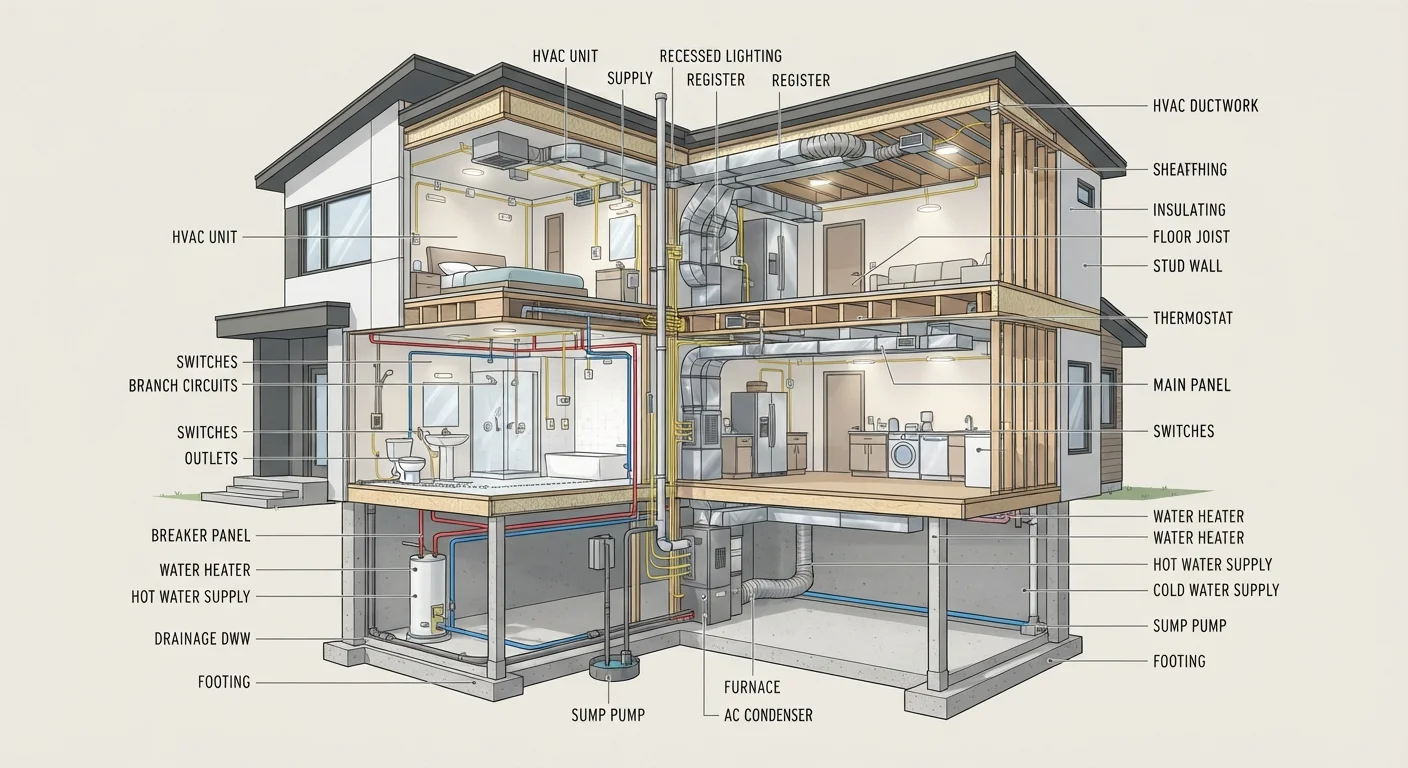
Every drain clog forms at a point where flow slows enough for material to accumulate. Understanding the geometry of your drain system - which is covered in depth in our guide to your home's plumbing system - explains why certain spots are predictably vulnerable.
The P-trap (the curved pipe under every sink and tub) is intentionally designed to hold water, which creates a seal against sewer gases. That curve also catches debris efficiently. Grease solidifies as it cools, soap scum precipitates from hard water, and hair mats together - all of these bind into blockages right at that bend.
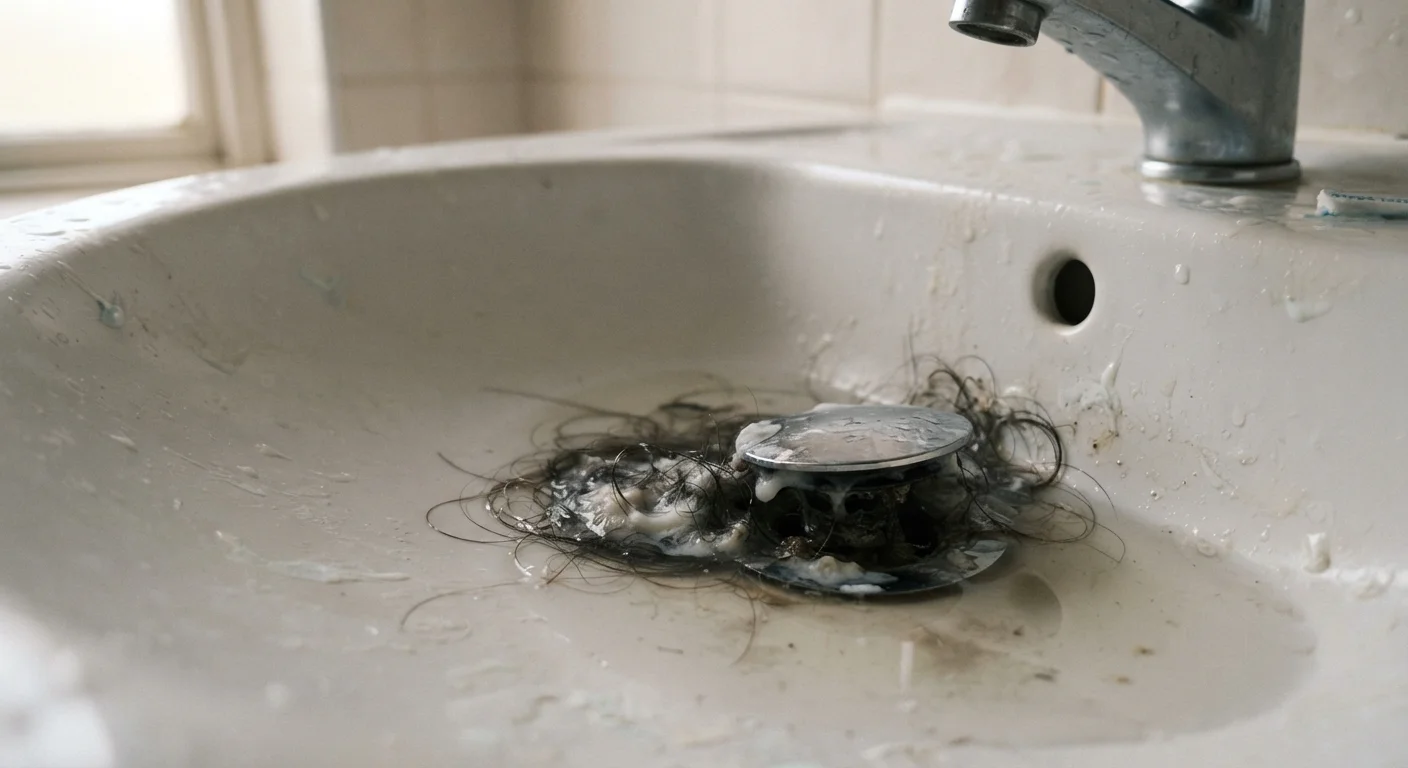
The drain opening and stopper assembly is the first point of contact. Hair wraps around the pivot rod or stopper mechanism in bathroom sinks and builds up quickly on the mesh of tub drains. These clogs are the shallowest and usually the easiest to clear.
Deeper in the system, branch drain lines - the horizontal pipes that carry waste from multiple fixtures toward the main stack - can accumulate grease and scale over time, especially if they were installed with inadequate slope. A properly sloped drain runs at roughly ¼ inch drop per horizontal foot; insufficient slope lets solids settle.
The main drain stack and sewer lateral (the pipe running from your house to the municipal sewer or septic system) are where the most serious clogs form. Tree root infiltration, collapsed pipe sections, and decades of scale buildup are common causes. These are not DIY repairs.
Prevention Is the Most Effective Fix
Installing mesh drain screens in tubs and showers captures hair before it enters the pipe - the single most effective step for bathroom drain maintenance. In the kitchen, never pour cooking grease down the drain; instead, let it solidify and dispose of it in the trash. Running cold water while using the garbage disposal helps carry food particles through the drainpipe rather than allowing them to settle.
Tools and Materials You'll Need
Having the right tools on hand before you start saves time and avoids a mid-job trip to the hardware store. The tools below cover the majority of household drain clogs.
Cup plunger
Creates suction to dislodge soft clogs in sinks, tubs, and shower drains.
Flange plunger
Designed specifically for toilet bowls; the extended flange seals the drain opening for effective pressure.
Drain snake (hand auger)
A flexible cable that physically breaks up or retrieves blockages located deeper than the P-trap.
Zip-it or hair removal tool
A barbed plastic strip used to pull hair and debris out of tub and sink drains without disassembly.
Adjustable slip-joint pliers
Used to loosen P-trap slip nuts when manually cleaning the trap.
Bucket and old towels
Catches water and debris when removing the P-trap or working under the sink.
What you will need
For context on which repairs are generally within DIY reach, see our article on plumbing repairs most homeowners can handle themselves.
Step-by-Step: Clearing a Drain Clog
When to Stop and Call a Professional
If multiple fixtures are draining slowly or backing up simultaneously, do not attempt further DIY clearing. This pattern often signals a mainline blockage or a venting problem that requires professional camera inspection and hydro-jetting equipment. Attempting to snake a mainline without proper training can push a blockage further into the system or damage older pipes. A licensed plumber can diagnose the root cause accurately.
Identify the scope of the clog
Before reaching for any tools, determine whether one fixture is affected or several. A single slow sink points to a localized clog. Multiple fixtures draining slowly - or gurgling when another fixture drains - suggests a blockage deeper in a shared branch line or the main drain stack. If your toilet gurgles when you run the sink, stop and call a licensed plumber; this is not a DIY scenario.
Remove visible debris at the drain opening
Unscrew or pop out the drain cover or stopper. In bathroom sinks, the stopper is typically lifted out after removing a small retaining nut on the pivot rod beneath the sink. In tubs, the overflow plate often controls a trip-lever stopper - unscrew the plate and slide both the plate and the stopper assembly out. Use a hair-removal tool or needle-nose pliers to pull out accumulated hair and soap scum. Rinse the stopper and reinstall it.
Use a plunger for soft, shallow clogs
For sinks and tubs, use a cup plunger. Cover the overflow opening (if present) with a wet rag to prevent air from escaping and reducing suction. Fill the fixture with enough water to submerge the plunger cup, position it directly over the drain, and apply firm, steady up-and-down strokes for 20-30 seconds. Pull the plunger away sharply on the final stroke. Run water to test drainage. Repeat up to three times before moving on.
Clean the P-trap manually
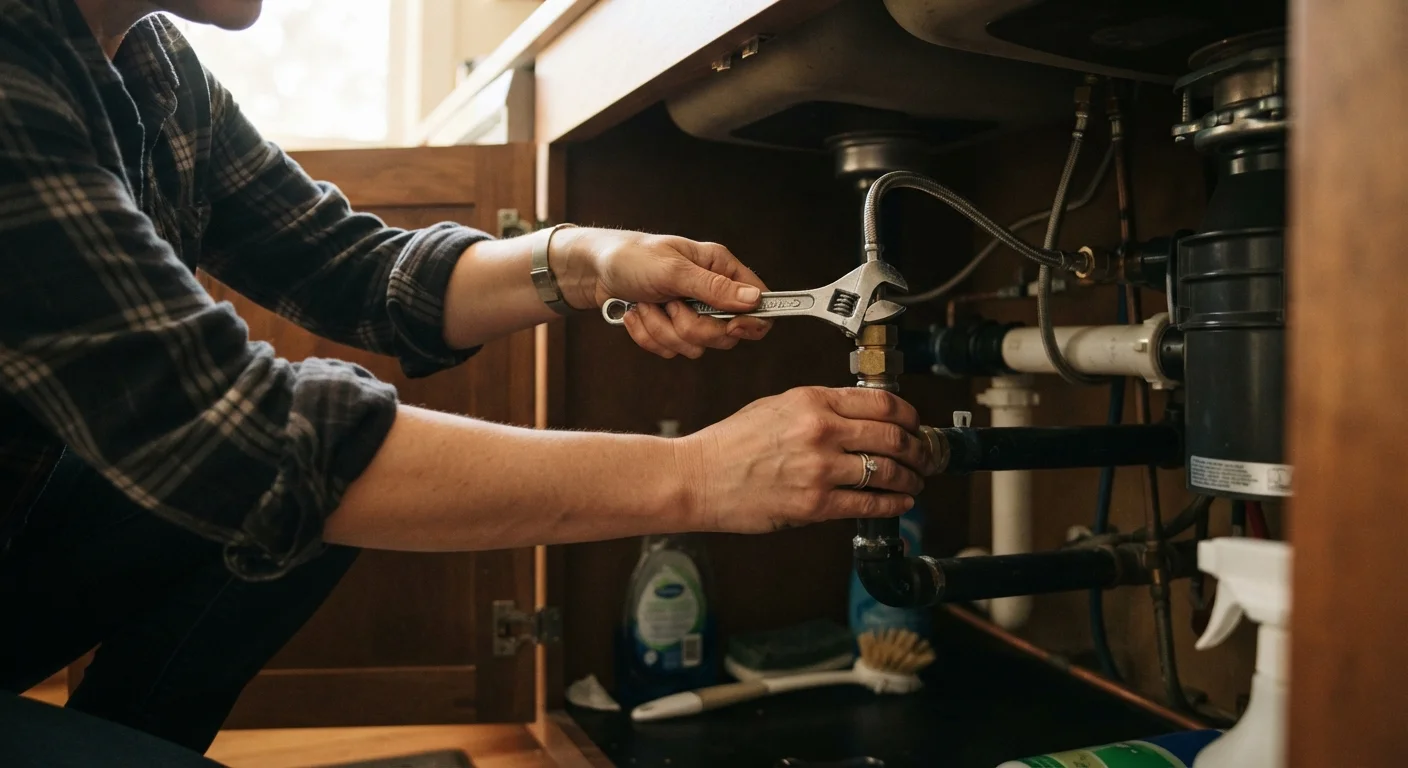
The P-trap - the curved pipe section beneath sink drains - is the most common collection point for grease, soap, and debris. Place a bucket beneath it. Using slip-joint pliers or by hand (if the nuts are plastic), unscrew the two slip nuts on either side of the curved section. Slide the trap free and empty its contents into the bucket. Use an old bottle brush or run water through it to clear residue. Inspect the interior of both pipe ends for buildup before reassembling. Hand-tighten the slip nuts, then give them a quarter-turn with pliers - over-tightening cracks plastic fittings.
Use a drain snake for deeper blockages
If the P-trap is clear but drainage is still poor, the clog is further along the drainpipe. Feed a hand auger (drain snake) into the drain opening or the pipe stub-out after removing the P-trap. Rotate the handle clockwise as you advance the cable. When you meet resistance, continue rotating while pushing forward - this either breaks up the clog or hooks it so you can pull it out. Retract the snake slowly and clean debris from the cable as it comes out. Run hot water for two minutes to flush loosened material.
Test drainage and reassemble
Run the fixture at full flow for at least two minutes. Drainage should be markedly faster. Check all slip-nut connections beneath the sink for leaks. If you cleaned the P-trap, run your hand along each connection point after the water test and feel for moisture. A slow drip here is usually a loose nut or an old washer that needs replacing - both are inexpensive fixes. If drainage is still slow after completing all steps, the problem is likely beyond the scope of DIY tools.
When the Clog Keeps Coming Back
A clog that returns within a few weeks of clearing usually means one of three things: the original blockage was never fully removed, a structural issue in the pipe is trapping debris, or something upstream (such as a slow toilet leak introducing mineral deposits) is contributing to buildup.
Recurring kitchen sink clogs often trace back to grease that coated the pipe walls and is now narrowing the effective diameter of the line. A professional can hydro-jet the line to restore full bore - a mechanical snake alone will only punch a hole through the grease, leaving the coating intact.
If you're dealing with slow drains alongside other plumbing symptoms, it's worth reading about how home systems interact - sometimes a venting problem or a related fixture issue is the true root cause. Our guide on fixing a running toilet is a useful companion if you're also noticing toilet irregularities alongside slow drains, as both can share contributing factors in older plumbing systems.
When in doubt, a licensed plumber with a drain camera can identify exactly where and why a clog keeps forming - and that diagnostic visit is almost always less expensive than repeated failed DIY attempts on a persistent problem.