Matching the Method to the Damage
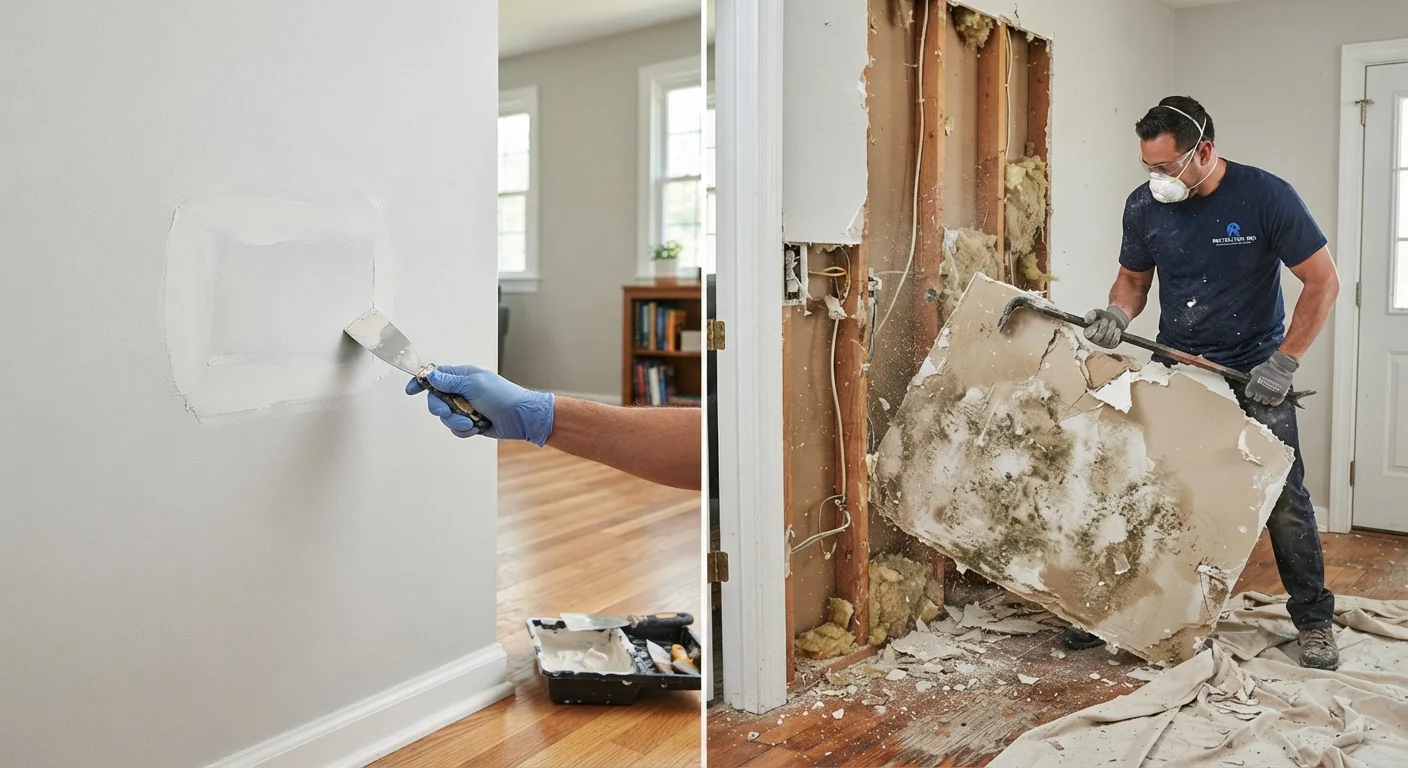
Not all drywall damage is the same, and using the wrong fix is the most common mistake homeowners make. A nail hole needs a completely different approach than a six-inch gash. Before reaching for any product, take a moment to assess what you're actually dealing with.
Here's a practical breakdown by damage type:
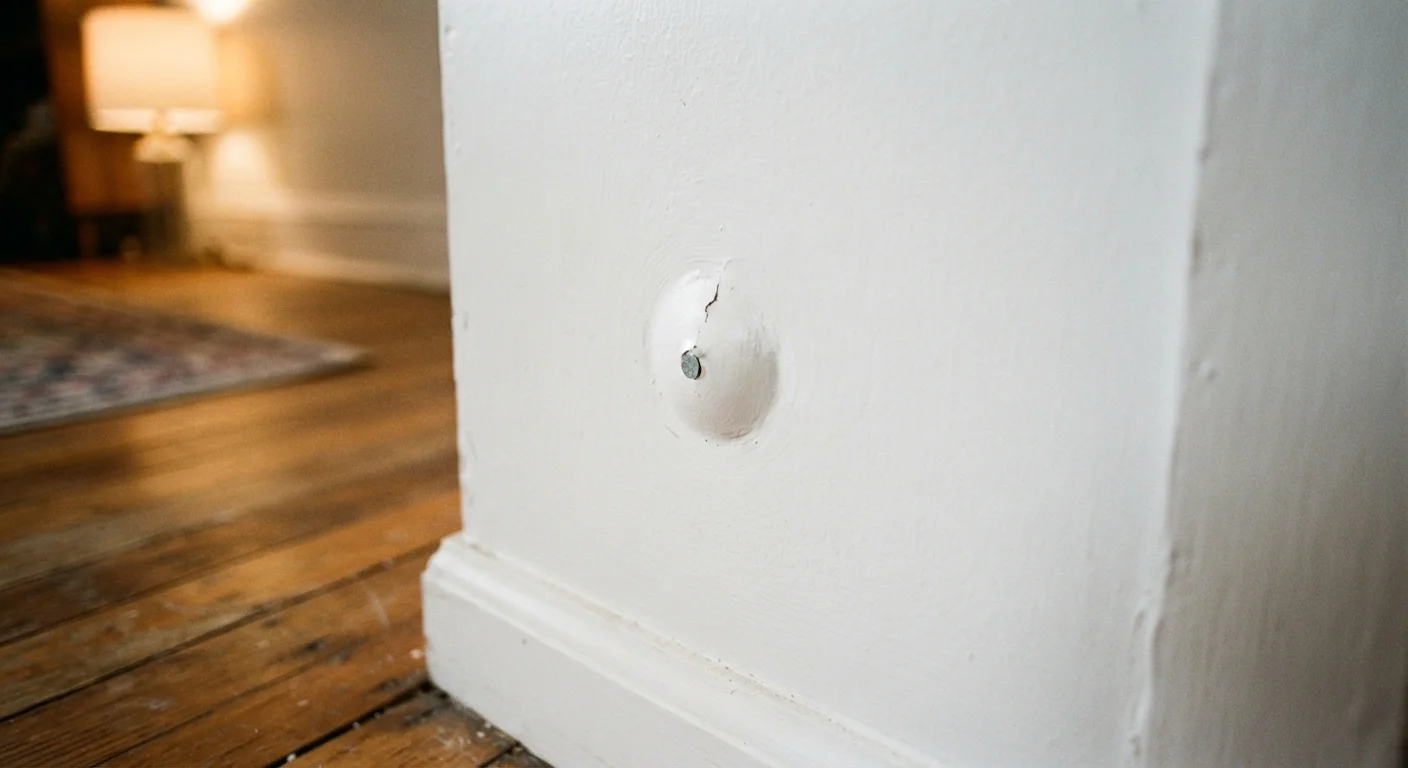
- Nail holes and small dents (under ½ inch): A lightweight spackling compound applied with a finger or small putty knife is usually sufficient. One or two thin coats, a quick sand, and the repair is invisible once painted.
- Medium holes (½ inch to 4 inches): Self-adhesive mesh patches or the "California patch" method work well here. These provide a stable base for joint compound without requiring you to cut back to studs.
- Large holes (4 inches and up): These require a proper backer - either a wood cleat screwed inside the wall cavity or a drywall patch panel - before any compound goes on. Skipping the backer leads to cracks and a sunken finish.
- Cracks: Hairline cracks are often cosmetic, caused by normal settling. Wider or recurring cracks can signal moisture issues or minor structural movement. See our guide to minor structural quirks for help reading these signs.
If you're unsure whether a repair will hold long-term - especially with recurring damage - our framework for patching vs. replacing can help you make a more confident call.
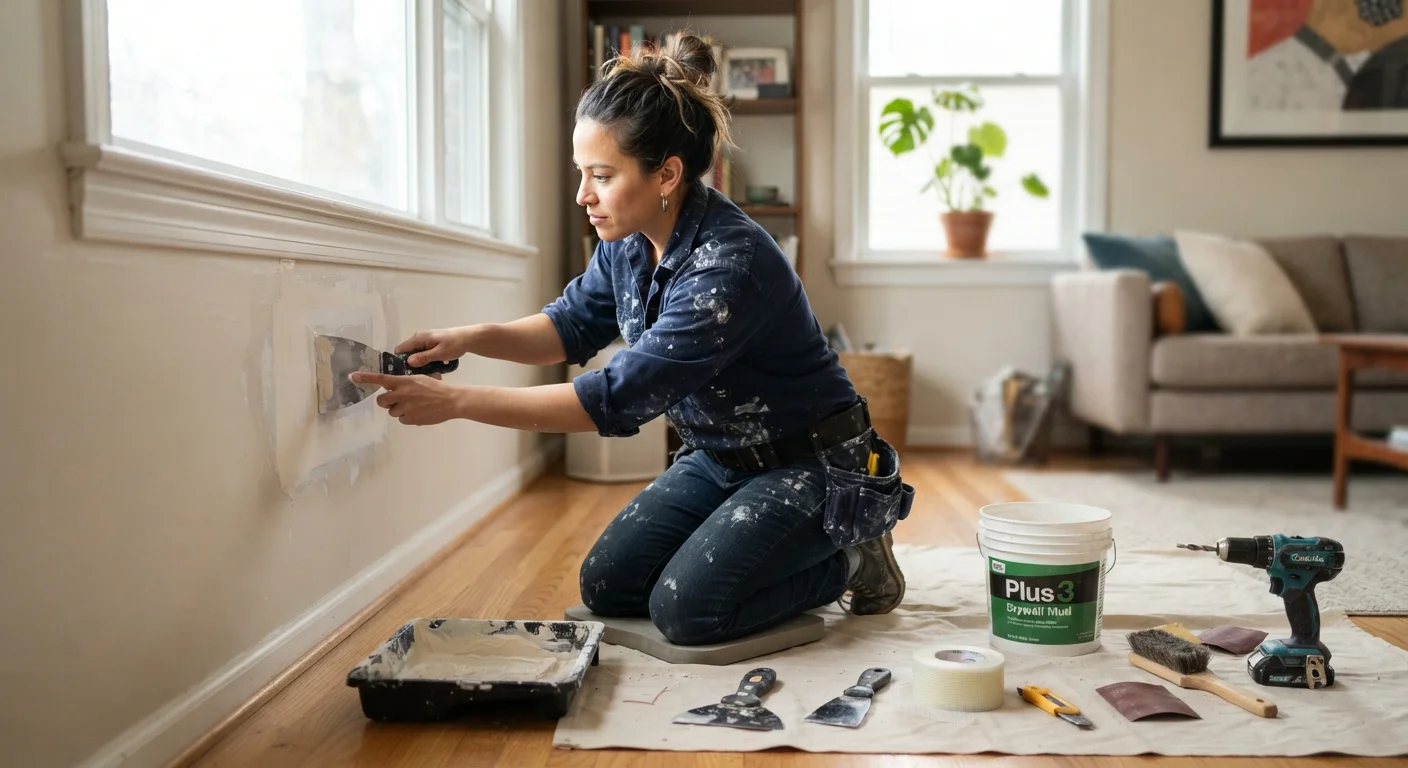
What you will need
Step-by-Step: How to Patch Drywall
The steps below cover medium to large hole repairs, since small dent fixes are a subset of this process. Follow them in order - skipping steps, especially drying time, is what causes most failed repairs.
Prepare the damaged area
Remove any loose paper, crumbled gypsum, or protruding debris from around the hole. Use a utility knife to trim ragged edges cleanly - irregular edges create weak points in the finished patch. For holes larger than 4 inches, use a drywall saw to cut the opening into a clean square or rectangle, which makes backer installation much easier.
Install a backer (for holes larger than 4 inches)
Cut a piece of 1×3 or 1×4 lumber several inches longer than the hole's height. Slide it into the cavity and hold it flush against the back of the existing drywall. Drive drywall screws through the existing wall face into the backer on both sides of the hole. Cut a drywall patch to fit the opening snugly, then screw it into the backer board.
Apply the first coat of joint compound
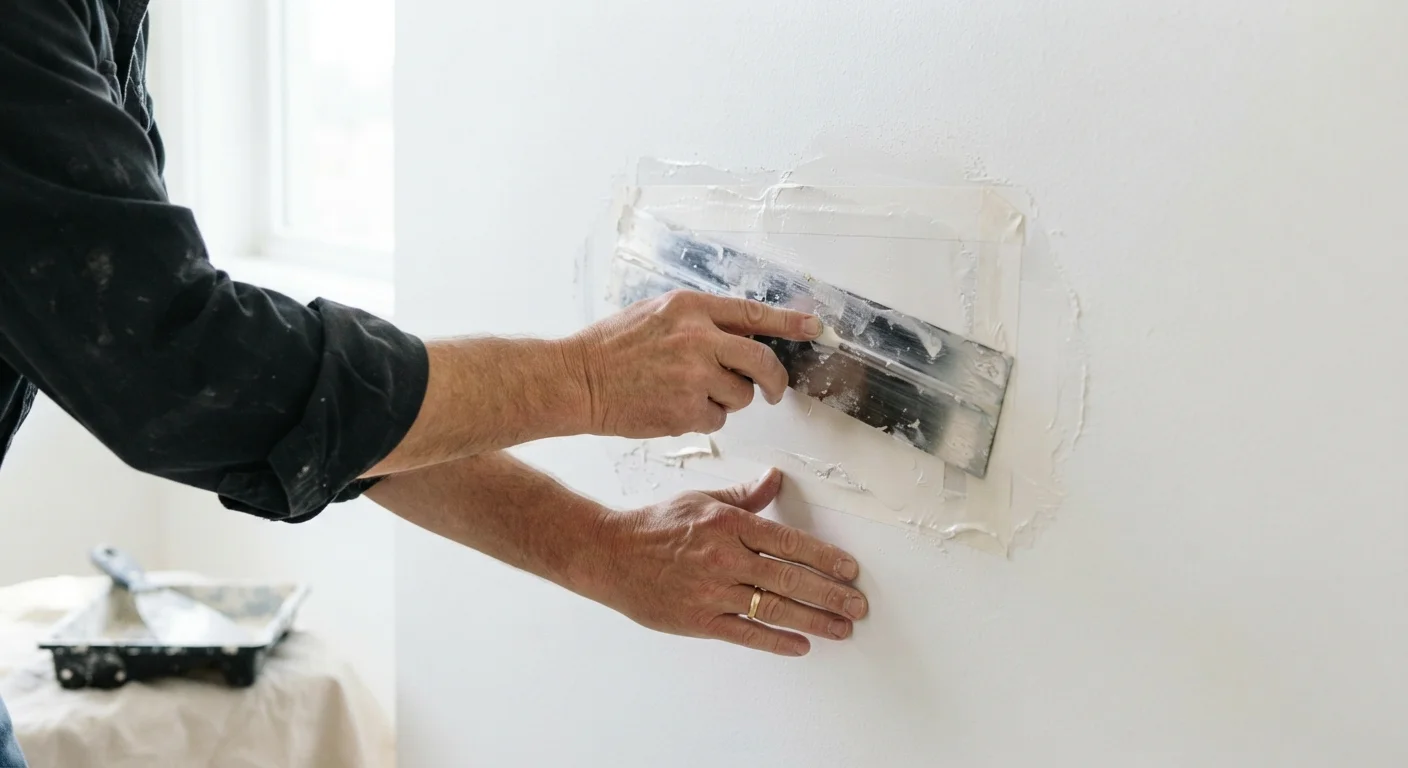
Using a 6-inch drywall knife, spread a thin, even layer of all-purpose joint compound over the patch, extending it several inches beyond the edges onto the surrounding wall. For mesh patches, press the compound firmly into the mesh openings. Feather the edges outward so there is no visible ridge. Let this coat dry completely - typically 24 hours at normal room temperature and humidity.
Sand, inspect, and apply a second coat
Once fully dry, lightly sand the first coat with 120-grit sandpaper using circular motions. You are knocking down ridges and high spots, not sanding it flush - the goal is a smooth transition. Wipe away dust with a damp cloth, let the surface dry, then apply a second coat with a wider 10- or 12-inch knife, feathering even further out. Most repairs need two to three coats to become invisible.
Prime and paint the repaired surface
After the final coat is dry and sanded smooth, apply a coat of drywall primer to the patched area. This seals the porous compound and ensures the topcoat paint adheres evenly. Once the primer is dry, paint using the same sheen and color as the surrounding wall. Apply at least two finish coats for best coverage.
Feathering Is the Key Skill
The difference between a patch that blends in and one that looks like a patch almost always comes down to feathering - gradually thinning the compound as you work outward from the repair. The more you practice keeping your knife at a shallow angle and extending each coat wider than the last, the flatter and less visible your repair will be. Rushing this step adds coats and sanding time later.
Once the repair is primed and painted, stand back and look at the texture from an angle. If the patched area catches the light differently than the surrounding wall, a second light texture coat may be needed. It's worth taking that extra step rather than repainting an entire room to mask the difference.
What to Expect After the Repair
Even a well-executed patch can look slightly different from the surrounding wall until it is primed and painted. Raw joint compound is porous and absorbs paint unevenly, which is why a coat of drywall primer - applied before topcoat paint - is not optional. Without it, the patched area will appear dull or "flashed" even after two coats of finish paint.
If your wall has a textured finish - knockdown, orange peel, or skip trowel - you'll need to replicate that texture before priming. Aerosol texture sprays and hopper-gun attachments for air compressors can produce similar results, but always test on a piece of cardboard first. Texture matching takes practice.
For context on how drywall repair fits into the broader world of DIY projects - including its trade-offs and realistic effort involved - the honest look at DIY home repairs is worth reading before you tackle anything more complex.
Drywall repairs rarely require permits when they're cosmetic and don't involve structural elements or changes to electrical or plumbing systems. That said, confirm your local requirements - our guide to permit requirements for DIY repairs explains when and why permits matter.