What Causes Nail Pops?
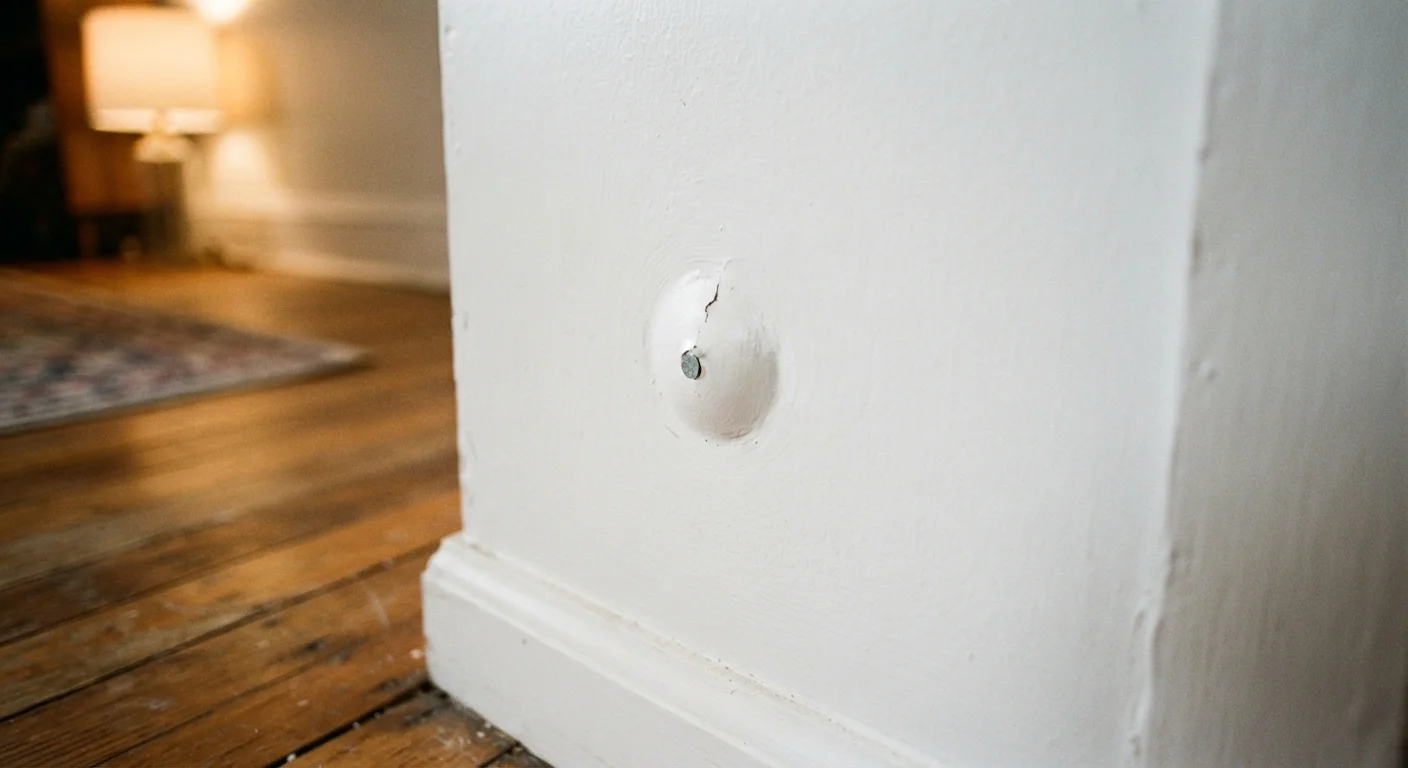
A nail pop is the small, round bump - or the depression with a dimple - you see on a drywall or plaster surface when a nail works its way outward. The cause is almost always the same: wood framing shrinks as it dries after construction, and the nail, unable to shrink with it, gets pushed toward the surface.
Modern homes are framed with lumber that still contains significant moisture. Over the first one to three years, that moisture evaporates and the wood contracts slightly across its width. The drywall screw or nail is fixed in place, so relative to the surface it appears to move outward.
How to Fix a Nail Pop
- Drive the original fastener back in with a hammer or screw gun until it sits just below the surface without breaking the drywall paper.
- Add a drywall screw about two inches above and below the popped fastener to anchor the panel more securely to the stud.
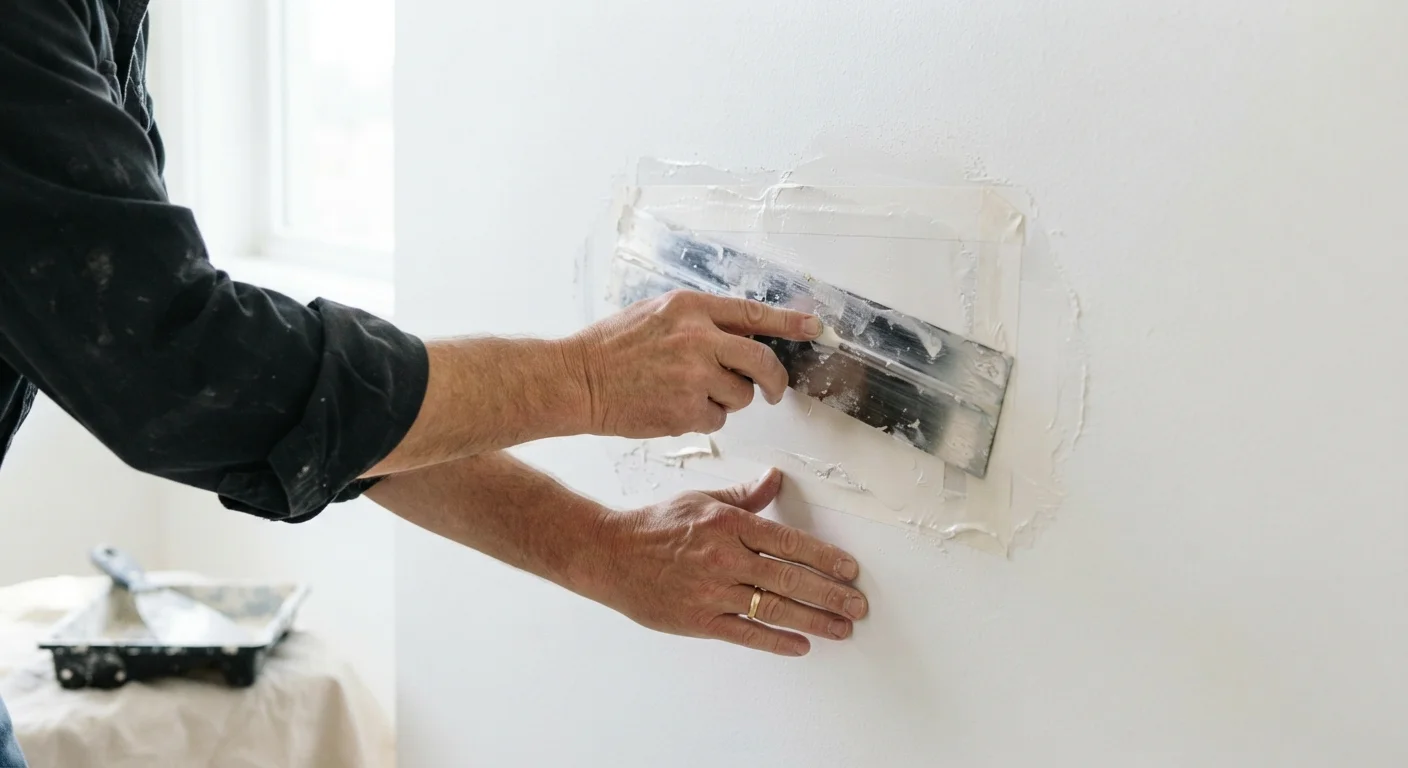
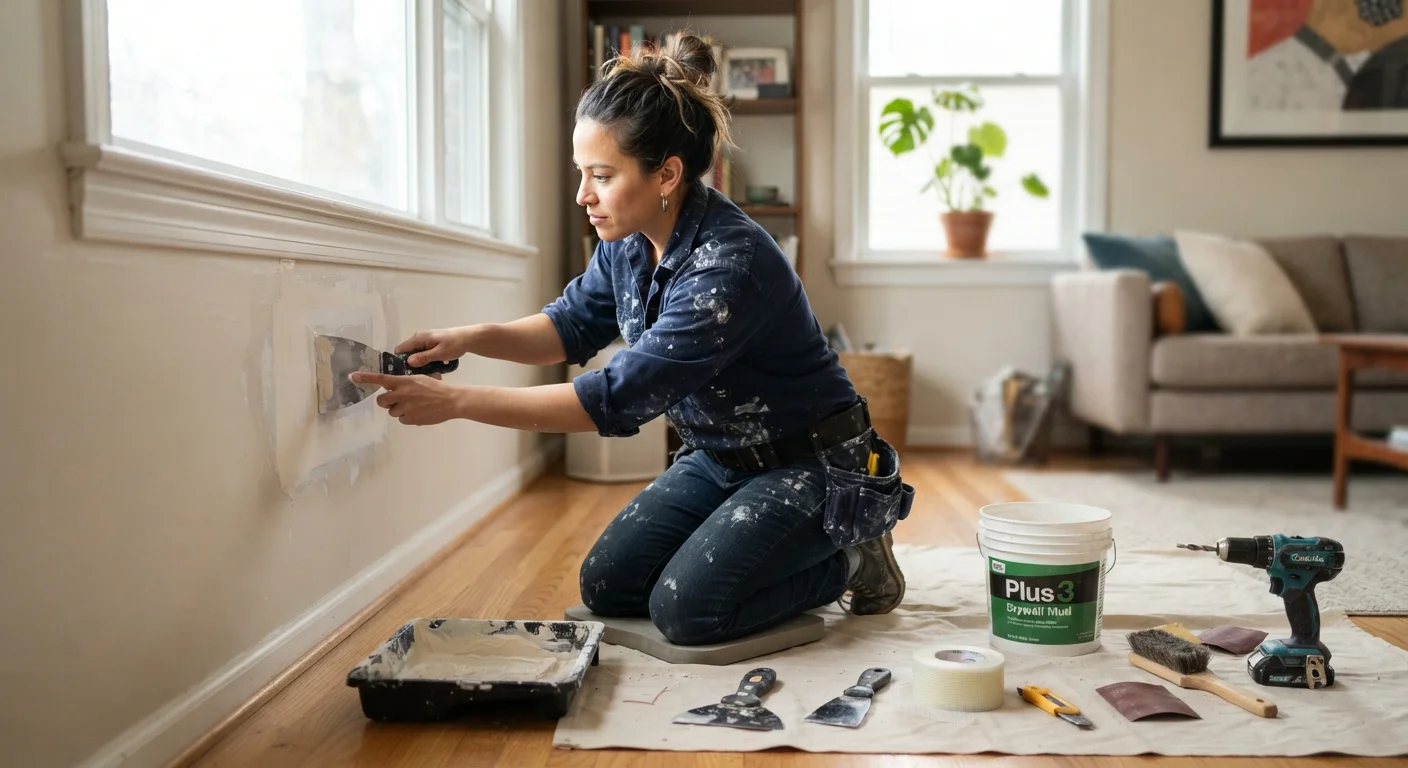
- Apply joint compound in two thin coats over all three fastener heads, feathering each coat outward and allowing it to dry fully between applications.
- Sand lightly, prime, and repaint to match.
For a deeper walkthrough on patching drywall surfaces, see our drywall repair guide.
Use Screws, Not Just Nails
When repairing a nail pop, always add drywall screws above and below the original fastener rather than simply hammering the nail back in. Nails alone are prone to working loose again as seasonal movement continues. Screws grip the stud threads and resist backing out far more effectively.
Squeaky Floors: Finding and Fixing the Friction
Floor squeaks happen when two surfaces rub against each other as weight shifts across the floor. The culprit is usually a gap that has opened between the subfloor and a floor joist, or between the subfloor and the finish flooring above it. As you step, the panel flexes, closes the gap, and releases - producing that familiar creak.
90%
Of nail pops are cosmetic, not structural
Home inspection professionals consistently report that the overwhelming majority of nail pops in settled homes involve no structural compromise to the wall assembly.
1-3 years
Typical window for post-construction settling
Most nail pops, minor cracks, and squeaks in newly built homes emerge during the first one to three years as framing lumber dries and the structure settles.
~$10-$30
Typical DIY cost to fix nail pops
Materials needed - joint compound, screws, sandpaper, and primer - are inexpensive, making nail pop repairs one of the most cost-effective DIY tasks available to homeowners.
Diagnosing the Source
Walk slowly across the squeaky area while someone else watches and listens from below (if you have basement or crawl space access). Mark the exact location where the noise originates. If you can only work from above, have a helper stand on the noisy spot while you observe the floor flex.
Repair Approaches
- From below: Drive short wood screws up through the joist into the subfloor to pull the two layers together. Keep screws short enough that they don't penetrate the finish floor above.
- From above (hardwood): Use a snap-off screw kit designed for hardwood, which drives a screw at an angle and snaps off flush, leaving a small hole to fill with wood putty.
- Lubricant for minor squeaks: Sprinkling powdered graphite or talcum powder into the seams between floorboards can reduce friction temporarily, though it's a short-term solution.
If you suspect the joist itself is damaged or the subfloor has softened due to moisture, that goes beyond a DIY fix - consult a licensed contractor.
Hairline Cracks and Sticking Doors: Normal or Not?
Hairline cracks in drywall, particularly at the corners of door and window frames, are among the most common concerns homeowners bring up. In the vast majority of cases they represent normal seasonal movement. As humidity rises in summer, building materials expand slightly; as it drops in winter, they contract. These micro-movements can open small cracks at stress points.
Similarly, a door that sticks in July but swings freely in February is almost certainly responding to wood swelling - not a shifting foundation. You can often verify this by noting whether the sticking is consistent or season-dependent.
When to Repair vs. Monitor
Hairline cracks narrower than 1/8 inch that are not growing can be filled with lightweight joint compound, sanded, and repainted. Sticking doors can be planed or sanded at the binding edge after confirming the door and frame are square. Always re-seal any bare wood edge with primer and paint to slow future moisture absorption.
Red flags that justify a professional inspection include:
- Cracks that are wider than 1/8 inch or growing over time
- Diagonal cracks running from the corners of windows or doors at a 45-degree angle
- Multiple doors sticking simultaneously, or floors that feel noticeably sloped
- Any crack in a foundation or basement wall, especially horizontal ones
Understanding the difference between cosmetic quirks and genuine warning signs is a core principle covered in our honest look at DIY home repairs.
Quirks vs. Warning Signs: Know the Line
The structural quirks described in this article are common, manageable, and well within DIY territory for most homeowners. However, they can sometimes mask more serious issues. If you notice multiple symptoms appearing together - cracks, sticking doors, and uneven floors simultaneously - consider scheduling a professional home inspection. Our guide on DIY myths covers situations where homeowner repairs can inadvertently hide problems that need expert attention.