What's Actually Happening Inside the Tank
When a toilet runs continuously, water is escaping from the tank into the bowl - or occasionally overflowing through the fill tube - without any flush being triggered. Understanding the three components responsible for this helps you pinpoint the culprit quickly before touching anything.
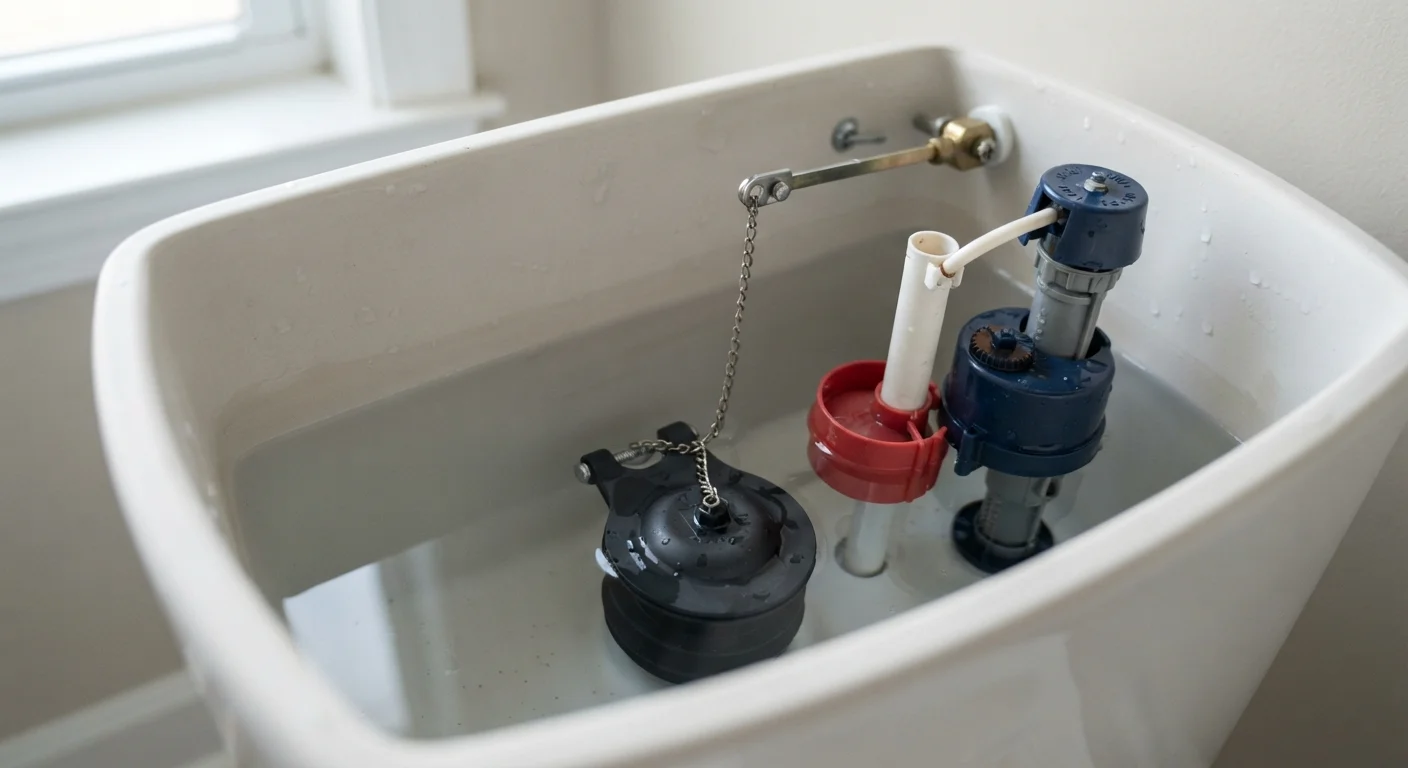
The flapper is a rubber seal that sits at the bottom of the tank over the flush valve opening. When you flush, it lifts to release water into the bowl, then drops back down to seal the tank for refilling. Over time, rubber flappers warp, harden, or accumulate mineral deposits, preventing a proper seal.
The fill valve (sometimes called a ballcock) controls how water enters the tank after a flush. It shuts off automatically once the water reaches the correct level. A worn or damaged fill valve may not shut off completely, causing water to trickle continuously.
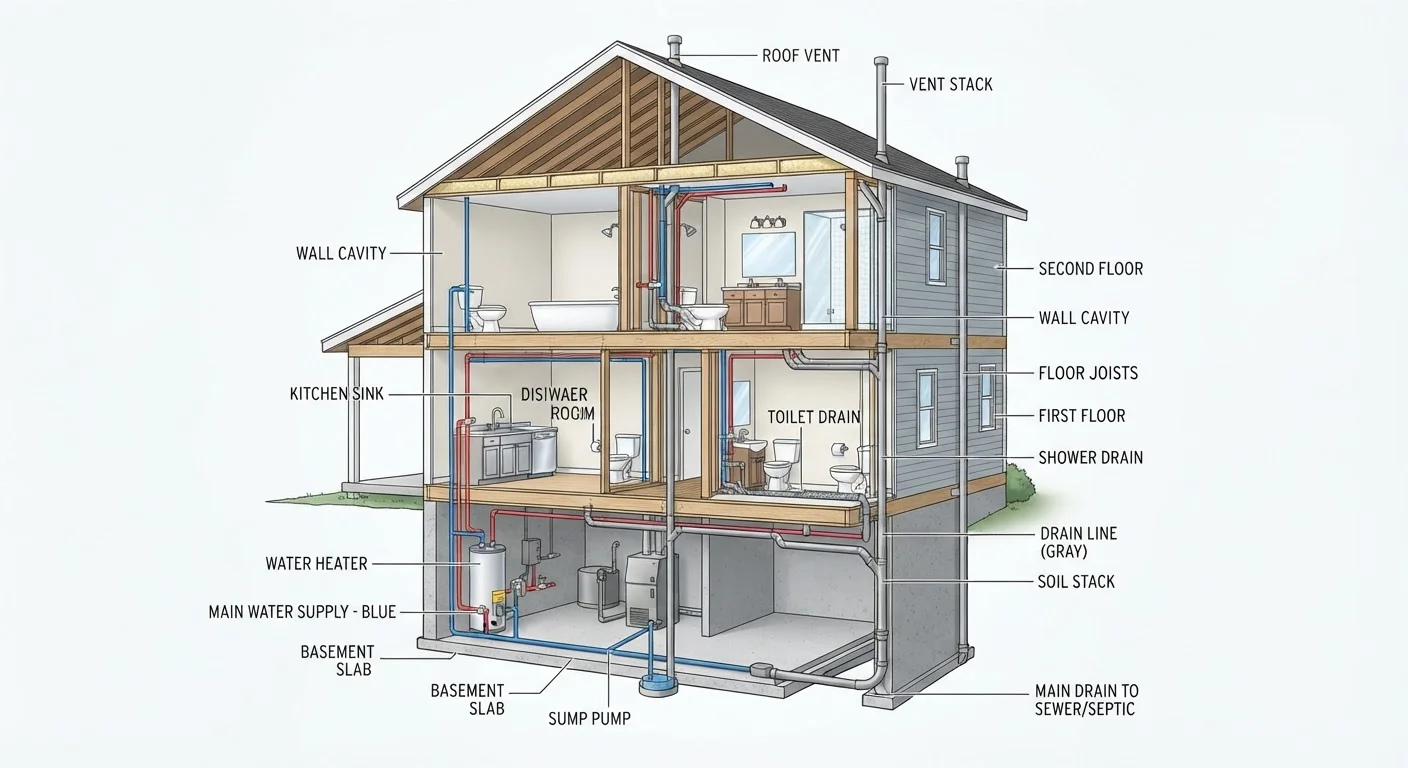
The float signals to the fill valve when the tank is full. If the float is set too high or is waterlogged, the water level rises above the overflow tube and drains silently into the bowl without stopping. For broader context on how your home's water supply feeds these components, see how supply lines and fixtures connect.
A Quick Listening Test Saves Time
Before removing the lid, press your ear near the base of the toilet and listen. A faint hiss usually points to a fill valve issue; a gurgling sound from the bowl suggests the flapper is leaking. This 10-second check can narrow your diagnosis before you touch a single part.
Diagnosing the Problem Before You Buy Anything
Remove the tank lid and set it aside on a safe, flat surface. Watch and listen for a few seconds - the source of the problem usually reveals itself quickly.
- Food coloring test: Drop a few drops of food coloring into the tank without flushing. Wait five minutes. If color appears in the bowl, water is leaking past the flapper.
- Float height check: The water level should sit roughly one inch below the top of the overflow tube. If water is spilling into the overflow tube, the float is set too high or is waterlogged.
- Fill valve hiss: If you hear continuous hissing after the tank is full, lift the float arm slightly with your finger. If the hissing stops, the float simply needs adjustment. If it doesn't stop, the fill valve itself likely needs replacing.
This kind of systematic diagnosis is exactly the approach described in our guide to common repairs most homeowners can handle themselves.
Don't Delay This Repair
A running toilet is more than an annoyance - it can silently waste 200 gallons or more per day, significantly inflating your water bill over weeks. If you're renting, notify your landlord promptly, as unaddressed leaks may be your responsibility to report under many lease agreements.
Tools and Parts You'll Need
Gather the following before turning off the water. Having everything within reach keeps the repair quick and avoids a wet scramble mid-job.
Adjustable wrench
Loosens and tightens the fill valve locknut and supply line connection.
Replacement flapper
Seals the flush valve opening to stop water from leaking into the bowl.
Replacement fill valve
Controls water refill after flushing; replaced when adjustment alone doesn't stop running.
Food coloring or dye tablet
Used to confirm whether the flapper is leaking before disassembly.
Towels or a small bucket
Absorbs residual water from the tank floor and supply line during the repair.
Sponge
Removes remaining water from the tank bottom after flushing, keeping the work area dry.
Step-by-Step Repair Instructions
Work through these steps in order. Most repairs can be completed without any cutting or soldering - this is strictly a matter of disconnecting, replacing, and reconnecting plastic and rubber components.
Shut Off the Water Supply
Locate the shutoff valve on the supply line behind and below the toilet. Turn it clockwise until it stops. Flush the toilet once to empty the tank. Place a towel on the floor to catch any residual drips.
Inspect and Replace the Flapper
Unhook the flapper's side ears from the pegs on the overflow tube and detach the chain from the flush handle arm. Take the old flapper to a hardware store to match the size - flappers are not universal. Snap the new flapper's ears onto the overflow tube pegs and clip the chain to the flush arm, leaving about half an inch of slack.
Adjust or Replace the Float
On older ball-float assemblies, bend the float arm slightly downward to lower the water level. On modern cup-style fill valves, turn the adjustment screw or pinch the clip on the side of the valve and slide it down. The target water level is marked inside most tanks - or aim for one inch below the overflow tube top. If the float is visibly waterlogged (it won't rise), replace the entire fill valve assembly.
Replace the Fill Valve if Needed
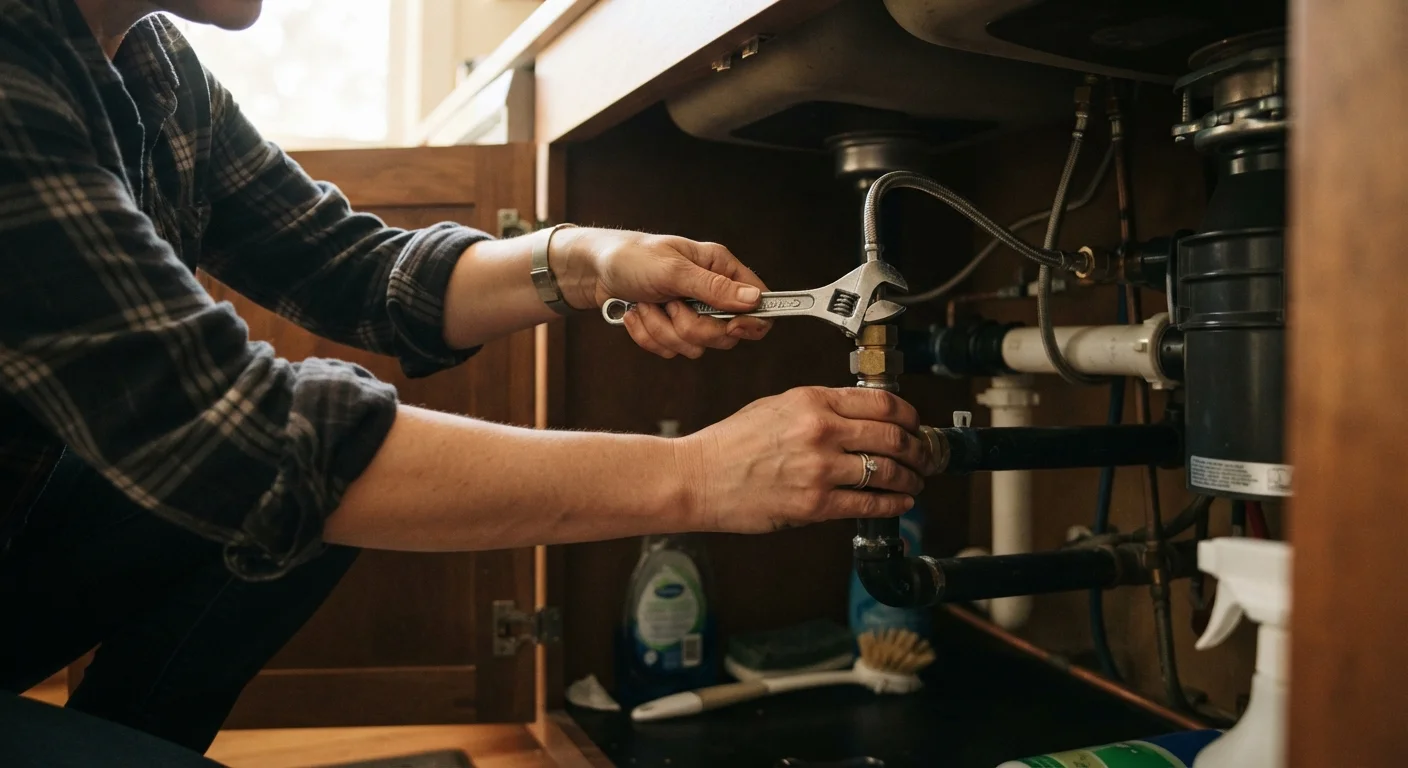
With the water off and tank empty, disconnect the supply line from the bottom of the tank. Use an adjustable wrench to remove the locknut securing the old fill valve, then lift it out. Insert the new fill valve, set its height according to the manufacturer's directions (typically adjusted so the critical level mark sits one inch above the overflow tube), tighten the locknut hand-tight plus a quarter turn, and reconnect the supply line. Clip the refill tube into the top of the overflow tube - do not insert it down into the tube, as this can cause siphoning.
Test the Repair
Turn the shutoff valve back on slowly and let the tank fill completely. Flush once and observe: the tank should fill to the correct level and the fill valve should shut off cleanly within 30-60 seconds. Repeat the food coloring test to confirm the flapper is sealing. Check underneath the tank and around the supply connection for any drips.
When to Call a Professional
If you've replaced the flapper and fill valve and the toilet still runs, the issue may be a cracked flush valve seat - the ceramic ring the flapper presses against. Replacing the flush valve seat typically requires removing the tank from the bowl, which is a more involved repair. At that point, or if you notice cracks in the porcelain, it's reasonable to contact a licensed plumber.
Similarly, if the toilet runs intermittently on its own without any flushing - a phenomenon sometimes called phantom flushing - a slow flapper leak is the usual cause, but persistent cases may warrant professional inspection to rule out supply line pressure issues. For related water-system troubleshooting, see our article on diagnosing low water pressure for context on how pressure fluctuations can affect fixture behavior.