Understanding the Common Causes
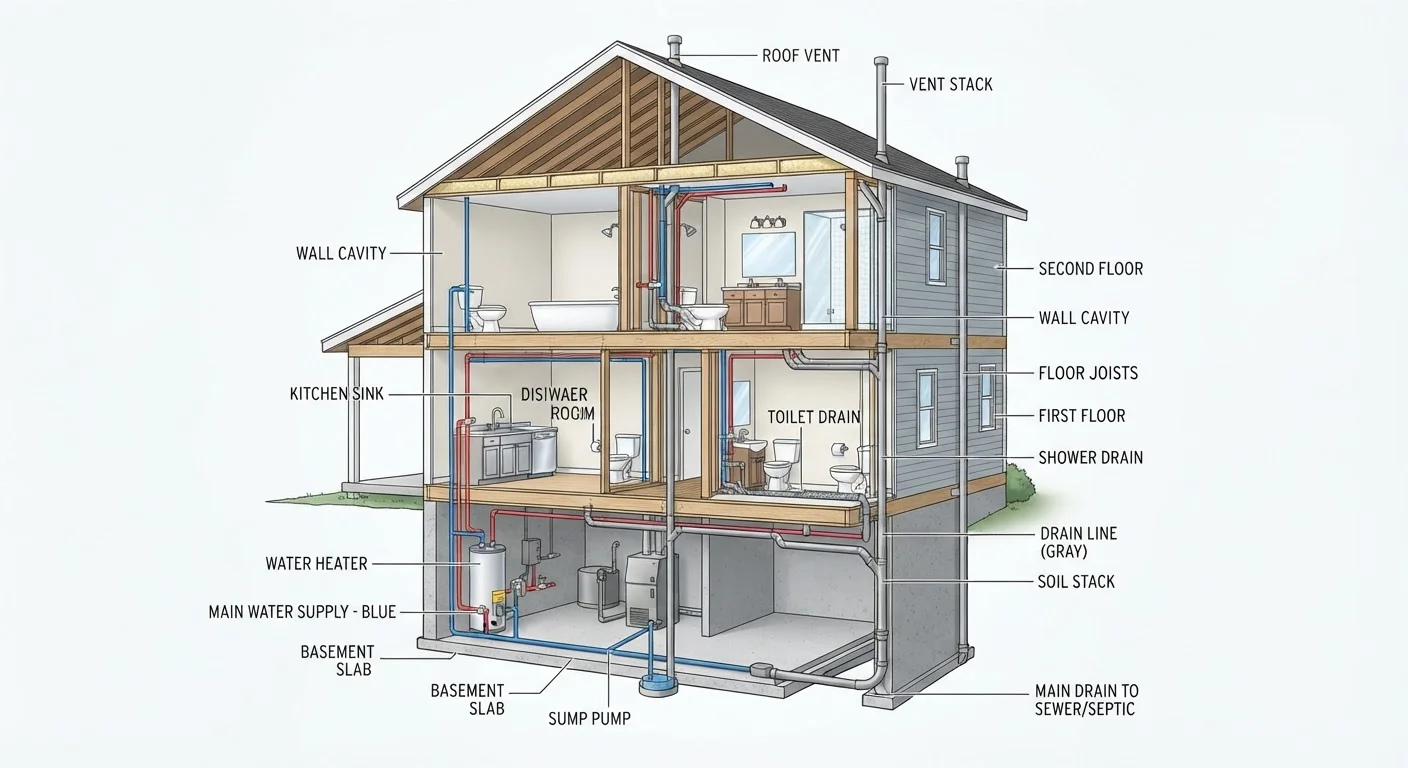
Before grabbing any tools, it helps to understand where pressure problems actually originate. For background on how supply and distribution lines work together, see Your Home's Plumbing System, Explained. The most frequent culprits fall into four categories:
- Municipal supply issues: Your water utility delivers water at a set pressure, typically between 45 and 80 psi (pounds per square inch). If the supply pressure drops - due to main breaks, heavy neighborhood demand, or infrastructure work - every home on that line feels it.
- Pressure reducing valve (PRV) failure: Most homes built after the 1980s have a PRV near where the main supply enters the house. This bell-shaped valve is pre-set to regulate incoming pressure to a safe range. When it fails or drifts out of calibration, pressure can drop house-wide.
- Partially closed shutoff valves: The main shutoff valve and individual fixture valves must be fully open to allow normal flow. A valve left partially closed after a repair is an easy and surprisingly common oversight.
- Mineral buildup and clogged aerators: Hard water deposits calcium and magnesium inside pipes, aerators (the small mesh screen at a faucet's tip), and showerhead nozzles over time, gradually restricting flow.
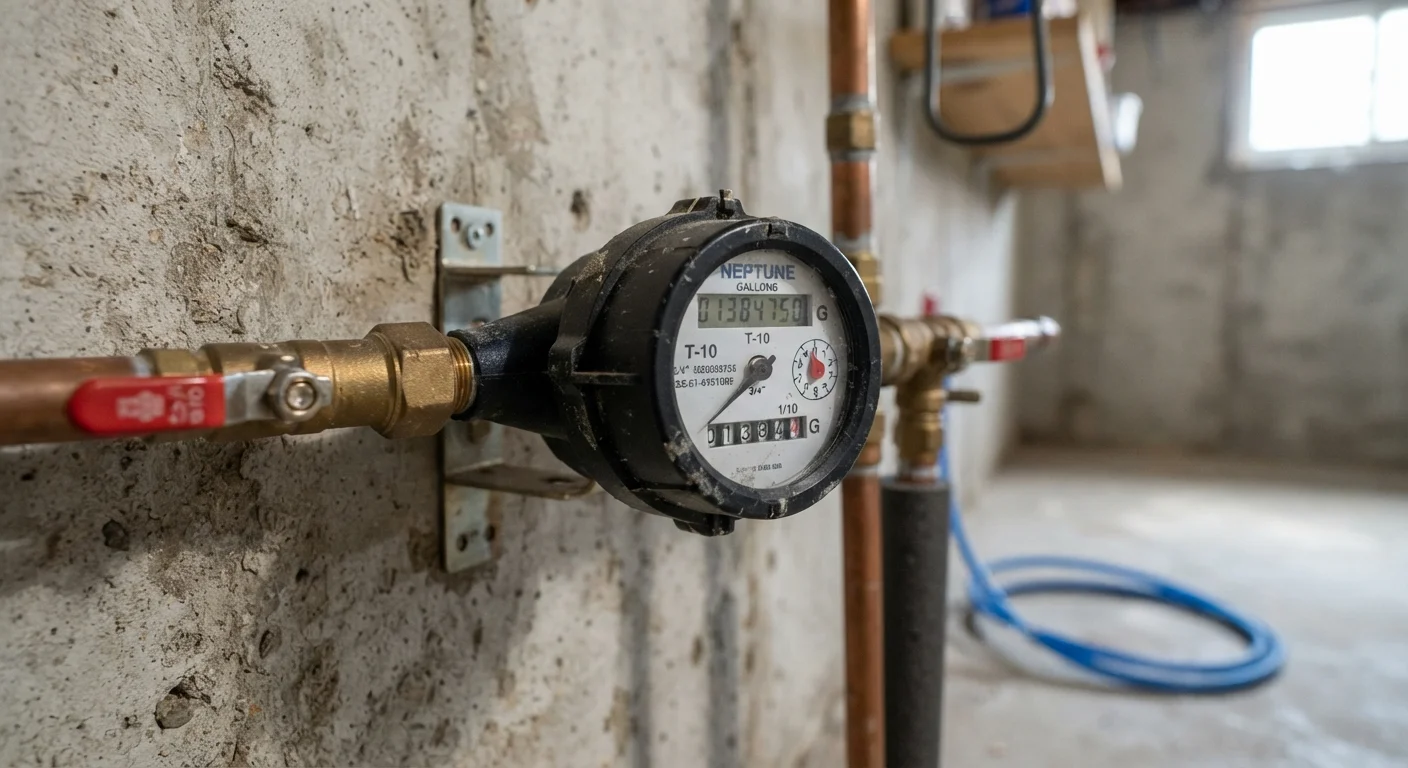
- Leaks in the supply line: Water escaping through a crack or joint elsewhere in the system reduces what reaches your fixtures. You can check for hidden leaks using your water meter - Reading Your Home's Water Meter: A Practical Reference walks through the process step by step.
Contact Your Water Utility First
If pressure loss is sudden and affects the whole house, call your water utility before doing anything else. Main breaks and supply-side issues are common and are the utility's responsibility to repair. They can also tell you the pressure at your meter, giving you a useful baseline.
What You'll Need
Gathering the right tools before you start saves time and ensures accurate readings.
Water pressure gauge
Screws onto a hose bib to measure actual psi at your supply - the most reliable diagnostic tool for this task.
Adjustable wrench or pliers
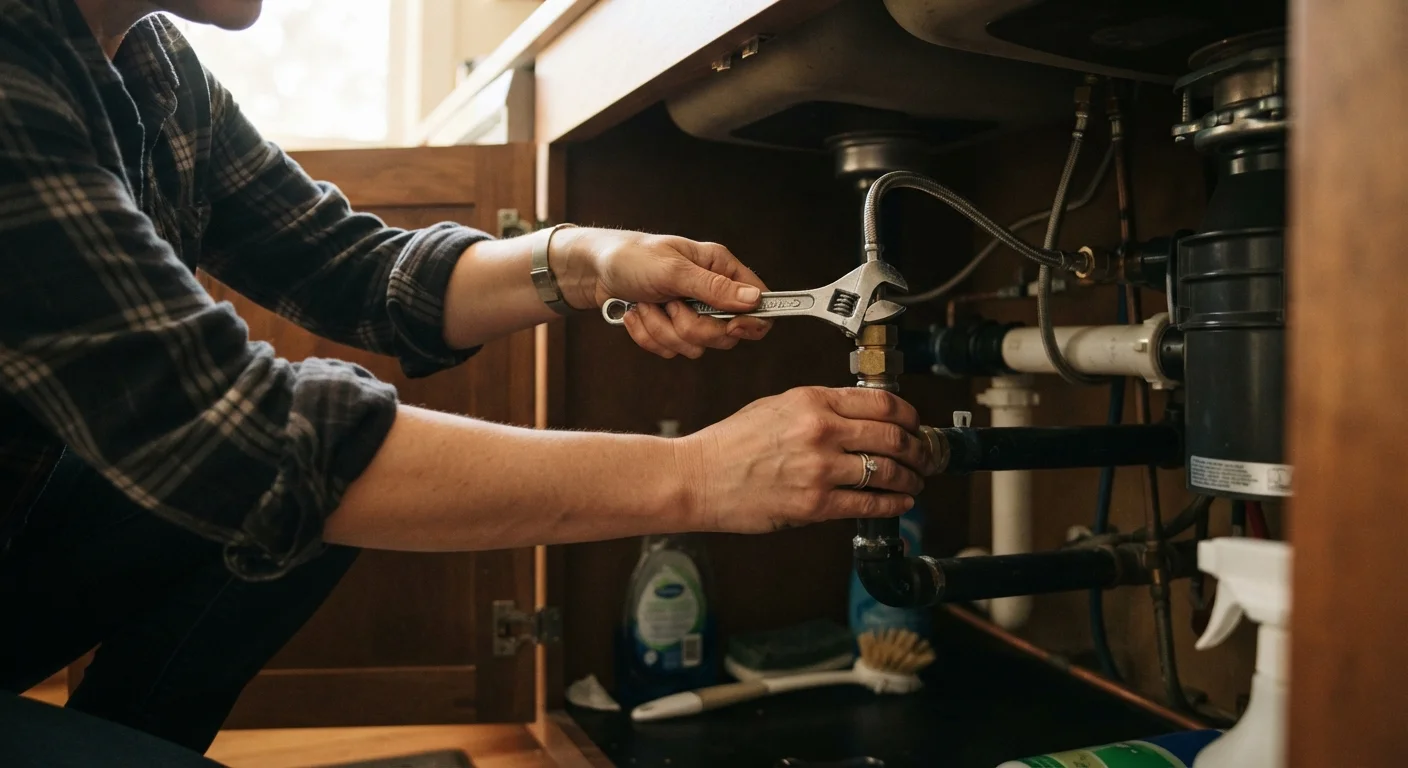
Used to remove aerators, showerheads, or access shutoff valves.
White vinegar and a small bowl or bag
Dissolves mineral deposits from aerators and showerhead nozzles without harsh chemicals.
Flashlight
Helps inspect shutoff valves and pipe runs in dim utility areas.
What you will need
Step-by-Step Diagnosis
Work through these steps in order. Each one either identifies the cause or rules out a category, narrowing your search efficiently.
Determine whether the problem is house-wide or isolated
Turn on cold water at several fixtures throughout the home - a bathroom faucet, a kitchen faucet, and an outdoor hose bib. If pressure is low at every location, the issue is likely upstream (municipal supply, PRV, or main shutoff). If only one or two fixtures are affected, the cause is local to those fixtures.
Test actual pressure with a gauge
Attach a water pressure gauge to an outdoor hose bib. Make sure all other fixtures in the home are off. Open the bib fully and read the gauge. Normal residential pressure runs between 45 and 80 psi. A reading below 40 psi indicates a systemic problem worth investigating further.
Check and confirm all shutoff valves are fully open
Locate the main shutoff valve (typically near the water meter or where the supply line enters the house) and any secondary valves near fixtures. A ball valve is fully open when its handle is parallel to the pipe. A gate valve is fully open when the handle is turned fully counterclockwise. Even a quarter-turn restriction can reduce flow noticeably.
Inspect and clean aerators and showerheads
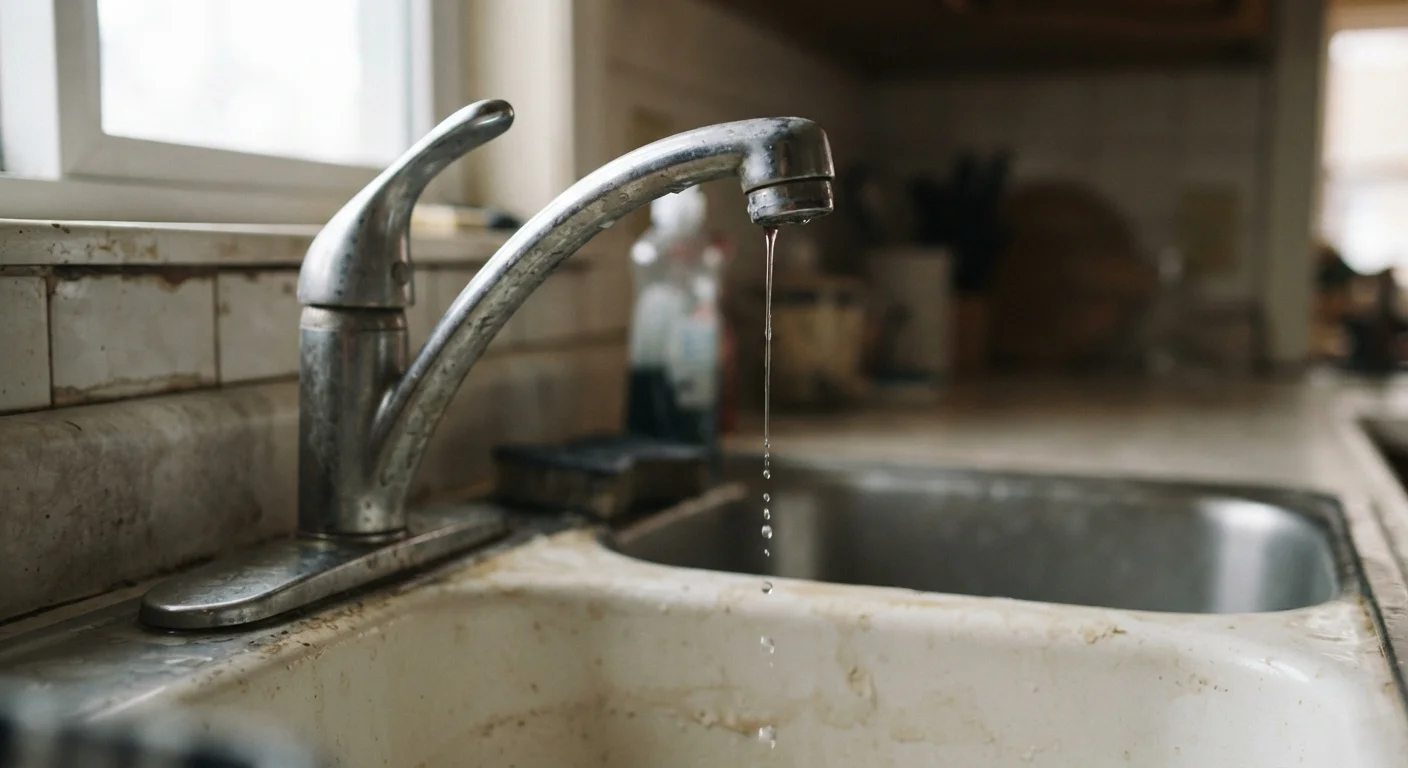
If pressure is low at a single faucet, unscrew the aerator by hand (or with a cloth-wrapped pair of pliers). Rinse it under running water and inspect the mesh screen for white or gray mineral deposits. For showerheads, look for blocked nozzle holes. Soak clogged components in white vinegar for 30-60 minutes, then rinse and reinstall. Retest pressure immediately after.
Evaluate the pressure reducing valve
If pressure is low throughout the home and all valves are open, locate the PRV - it typically sits on the main supply line near the point of entry and resembles a bell or cone. Check whether the adjustment screw on top is loose or whether the valve body feels wet or corroded (signs of failure). PRV adjustment and replacement involve the main supply line and should be handled by a licensed plumber.
Check for evidence of a hidden leak
With all fixtures turned off, check your water meter for movement. Even slow needle or digit movement indicates flow somewhere in the system. Also look for damp spots on walls, ceilings, or under sinks. A hidden leak quietly bleeds off pressure while causing structural damage over time. If you suspect a leak, contact a licensed plumber before the situation worsens.
If these steps point to a leak, a failed PRV, or corroded galvanized pipes, the repair likely falls outside typical DIY territory. See Before You Call a Plumber to understand which fixes are realistic to attempt yourself before scheduling a service visit.
Galvanized Pipe Can Hide Serious Problems
Older homes with galvanized steel supply pipes experience progressive internal corrosion that steadily reduces flow over years. Pressure loss in these systems often signals that pipe replacement - not a simple repair - is needed. A licensed plumber can assess the extent of corrosion and advise on your options.