Why Most Paint Jobs Disappoint
A paint job that looks good for three years instead of three months comes down to one thing: how well the surface was prepared before the first drop of paint was applied. Most DIYers underestimate this phase because it is unglamorous - cleaning walls, filling holes, sanding, and priming feel like obstacles between you and the satisfying part. But they are the satisfying part, delayed.
The practices below address the stages most commonly rushed or skipped entirely. Follow them in sequence, and the actual painting goes faster and looks better. Skip them, and no quality of roller or expensive paint brand compensates.
Older Homes Require Extra Caution
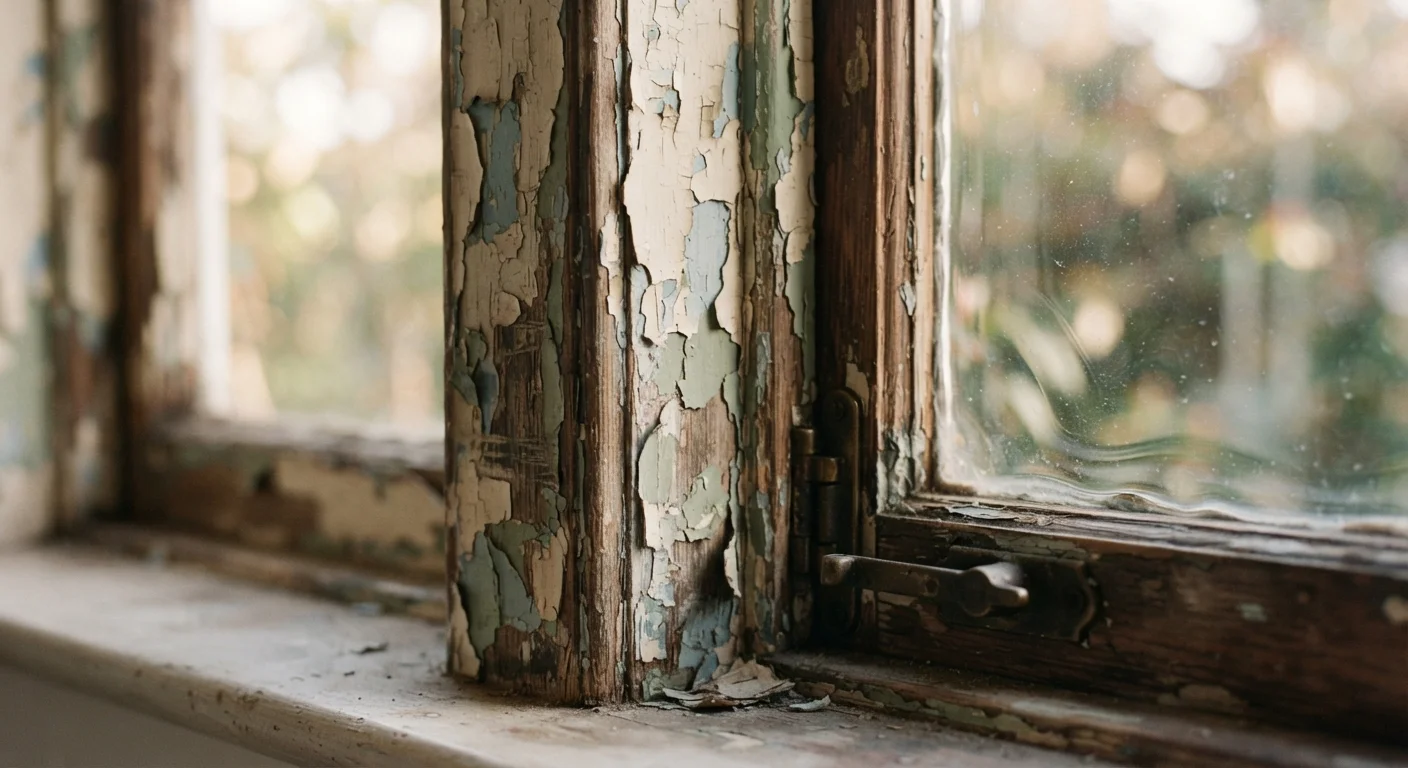
If your home was built before 1978, painted surfaces may contain lead-based paint. Sanding or scraping disturbed lead paint creates hazardous dust. Before starting any paint prep in an older home, review guidance on safe practices - and consider professional testing. See our guide on older home hazards for what to watch for.
Surface Preparation: The Stage That Determines Everything
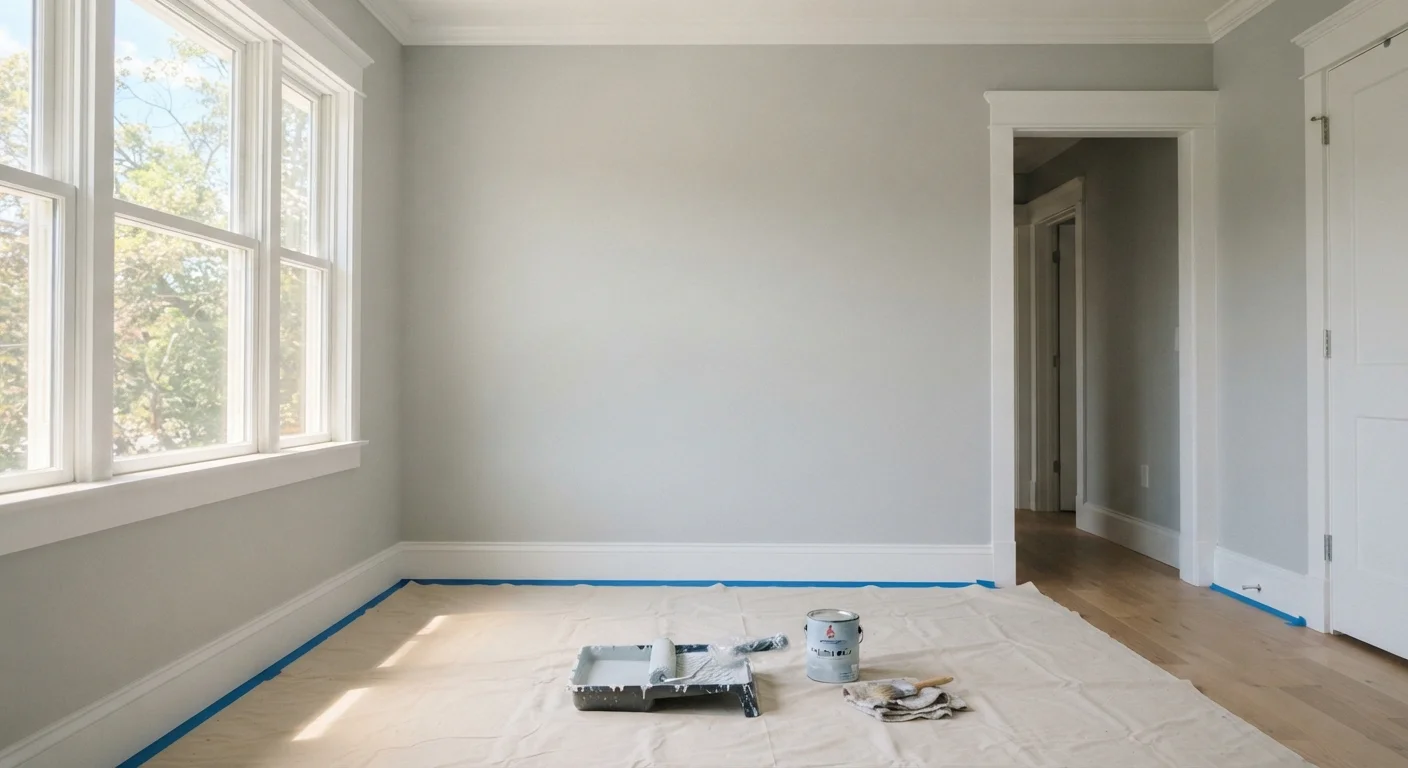
Before any tool touches the wall surface, the room needs to be set up properly. Move furniture to the center or out of the room, remove wall art and hardware, and cover everything with a drop cloth. Then begin the prep sequence that experienced painters follow.
Clean the walls thoroughly before touching a brush or roller.
Paint bonds to the surface beneath it, not to grease, dust, or residue. Skipping this step is one of the main reasons paint peels within months. Kitchens and bathrooms especially accumulate airborne oils that are invisible until paint starts lifting.
Repair every imperfection before priming - not after.
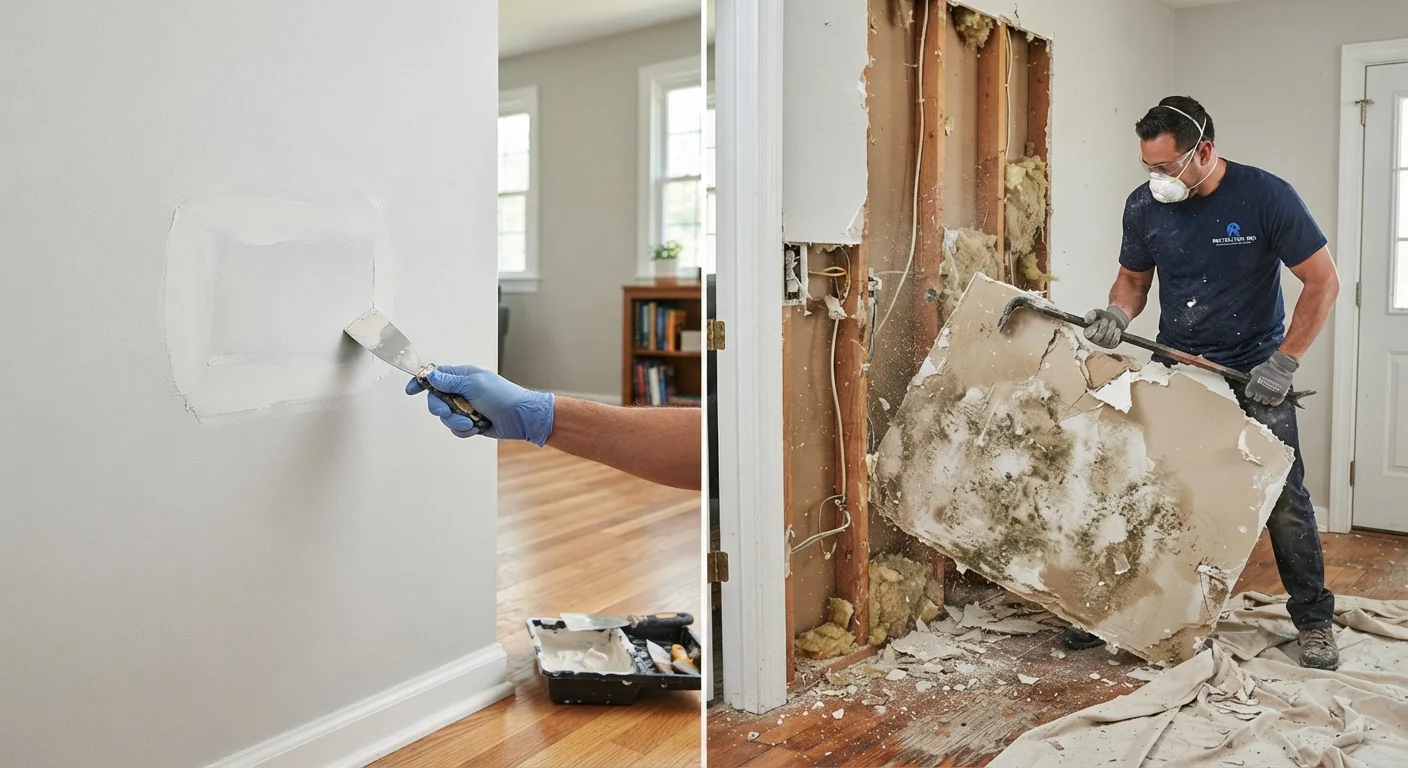
Paint magnifies flaws rather than hiding them. Nail holes, hairline cracks, and dings that look minor on bare drywall become obvious under a sheen finish. Patching after priming adds an extra priming step anyway, so doing repairs first is more efficient. See when a patch is enough if you're unsure how extensive the damage is.
Apply primer - always, and match it to the situation.
Primer seals porous surfaces, improves color accuracy, and gives paint a uniform base to adhere to. Skipping it typically means using more paint coats and getting an uneven sheen. Stain-blocking primer is essential over water stains, smoke damage, or dark colors you're trying to cover.
Cut in edges before rolling, working one wall at a time.
Cutting in means painting the perimeter - around trim, corners, and ceilings - with a brush before using a roller for the open wall. Doing each wall's cut-in immediately before rolling that same wall keeps both wet, allowing them to blend without a hard edge or lap mark.
Apply two thin coats rather than one heavy coat.
A thick coat takes far longer to dry, is prone to runs and sagging, and often cures unevenly. Two thin coats build proper film thickness, which determines both color depth and how well the paint holds up to cleaning and abrasion over time.
Allow full cure time before washing or placing furniture against walls.
Dry time (when paint no longer feels tacky) and cure time (when it reaches full hardness) are different. Most latex paints feel dry in an hour or two but take two to four weeks to fully cure. Washing or scuffing paint before it cures can permanently damage the finish.
Good surface prep pairs naturally with other home maintenance routines. If you maintain a regular schedule, painting becomes less of an emergency and more of a planned refresh - the seasonal home maintenance checklist can help you build that rhythm.
Getting the Job Done Right: Technique and Finish
Once the surface is prepped and primed, technique determines the quality of the visible result. The practices above cover application sequence and coat strategy. A few additional points sharpen the outcome:
- Load the roller correctly: Roll it through the paint tray until evenly coated, then roll off excess on the ridged section. A roller that drips is overloaded.
- Use a 'W' or 'M' pattern: Rather than painting in straight up-and-down stripes, roll paint onto the wall in a loose W or M shape, then fill it in without lifting the roller. This distributes paint more evenly.
- Maintain a wet edge: Always overlap your last stroke before it dries. Working quickly and systematically one wall at a time prevents the visible lines that appear when wet paint is rolled over dry paint.
For reference on whether walls need full repainting or whether targeted repairs might be enough first, see our honest look at DIY trade-offs.
Mark Your Paint Can with the Room Name
Before sealing leftover paint, write the room name and date on the lid with a permanent marker. Store it upside down to create an airtight seal. When you need to touch up a scuff six months later, you'll have the exact match ready without guessing.
After You Paint: Cure, Cleanup, and What to Watch For
The job isn't finished when the second coat goes on. Cure time, cleanup, and a final inspection are all part of a complete paint project.
80%
Of paint failures traced to poor prep
Industry estimates from painting trade organizations suggest the large majority of premature paint failures - peeling, cracking, flashing - stem from inadequate surface preparation rather than paint quality.
2-4 weeks
Typical cure time for latex paint
Latex paint may feel dry to the touch within hours, but most manufacturers recommend waiting two to four weeks for full cure before the surface is scrubbed or subjected to friction.
Once walls are dry, do a close inspection under raking light - angle a flashlight along the surface to reveal any thin spots, drips, or brush marks. Touch these up while you still have paint open. Then remove painter's tape at a 45-degree angle while the paint is still slightly tacky; pulling tape from fully dried paint can lift the edge.
Clean brushes and rollers according to the paint type (water for latex, mineral spirits for oil-based). Wrapped tightly in plastic wrap, a wet roller can be kept usable for a second coat without cleaning between coats.
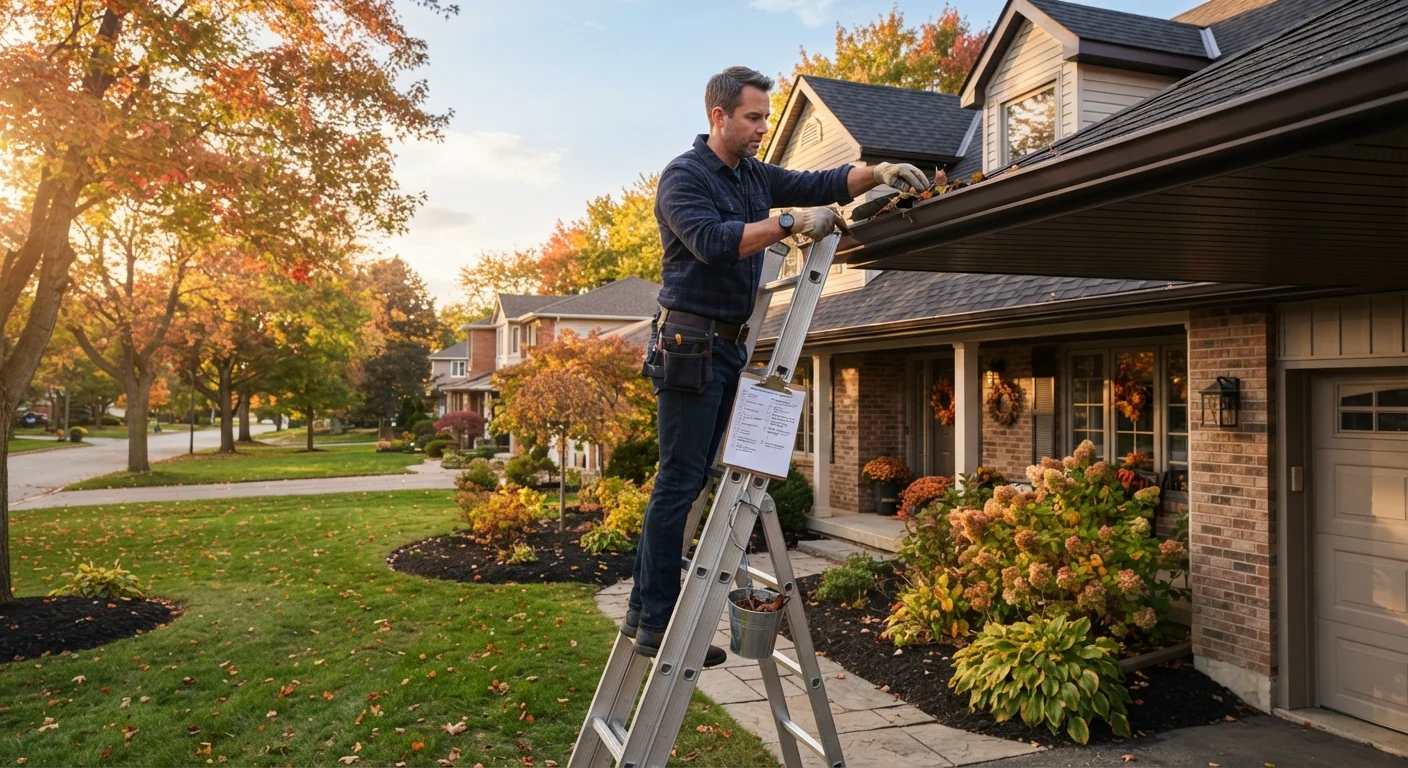
Exterior surfaces follow similar principles but add weatherproofing considerations - the seasonal exterior maintenance checklist covers when and how to assess painted siding and trim as part of a broader exterior check.
“The preparation is everything. Painters who produce lasting work spend more time getting the surface ready than they do applying the paint itself.”
— Bob Vila, Home improvement authority and long-running TV host