Why visa applications trip people up
The visa process isn't inherently complicated, but it has a lot of moving parts - and the consequences of getting them wrong range from a minor delay to a denied trip. The most common mistakes aren't exotic: they're missing a single document, submitting photos that don't meet spec, or misreading processing timelines. First-time international travelers often underestimate how much lead time is required, both for gathering documents and for the consulate to process the application.
This guide walks through how the typical tourist visa application works - from confirming you need one to verifying your visa is correct when it arrives. Requirements differ by destination and nationality, so treat every detail here as a general framework, not a country-specific checklist. Always verify current requirements directly with the destination country's official embassy or consulate.
Official embassy or consulate website
The authoritative source for current visa requirements, fee amounts, and application forms for your destination.
US Department of State travel portal (travel.state.gov)
Provides country-specific entry requirement overviews and alerts for US passport holders.
Document checklist (self-created)
A running list of every required document helps prevent submission errors and missing items.
Certified translation service
Required when any supporting documents are not in the destination country's official language.
What the process looks like, step by step
Before you begin, make sure you have the prerequisites in place - including a passport with enough remaining validity and access to the official embassy website for your destination. Then follow the steps below in order.
What you will need
Confirm whether you actually need a visa
Not every destination requires a visa for US passport holders. Many countries offer visa-free entry or visa-on-arrival for short tourist stays. Start at the official embassy website for your destination country and cross-reference with travel.state.gov to confirm what applies to your specific passport and trip length. Do not rely on travel blogs or social media - entry rules change without notice.
Identify the correct visa category
Visas are issued for specific purposes: tourism, business, transit, study, and so on. Applying for the wrong category - even if you technically qualify for another - can result in denial or complications at the border. Tourist visas typically restrict paid work and extended stays. Confirm the correct category in the embassy's official documentation before starting your application.
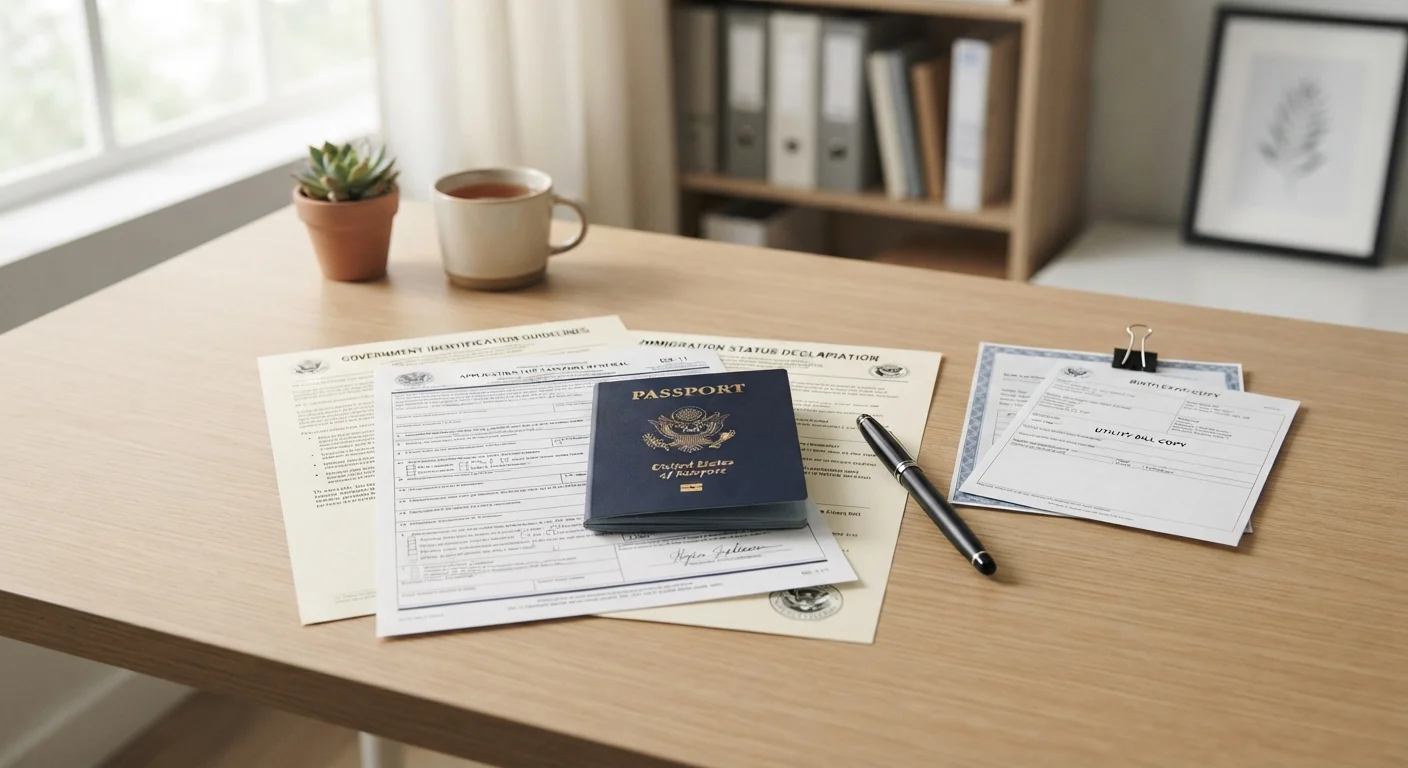
Gather your supporting documents
Most tourist visa applications require a core set of documents, though specifics vary by country:
- Valid passport (check the required remaining validity - often 6 months beyond your return date)
- Completed application form (usually available on the embassy's website)
- Passport-style photos meeting the consulate's exact size and background specifications
- Proof of onward or return travel (flight itineraries)
- Proof of accommodation (hotel bookings or a host's invitation letter)
- Evidence of sufficient funds (recent bank statements, typically covering 3-6 months)
- Travel insurance documentation (required by some countries, strongly recommended regardless)
Some consulates also ask for employment verification, tax returns, or a letter from an employer. Check the full list on the official embassy site.
Complete and review the application form
Most countries now offer online application portals, though some still use paper forms submitted in person or by mail. Fill out every field accurately - inconsistencies between your form and your supporting documents (different name spellings, conflicting travel dates) are a common trigger for delays or rejections. Once completed, review the entire form against your documents before submitting.
Submit your application and pay the fee
Depending on the country, you'll submit online, by mail, in person at a consulate, or through a designated visa application center (VAC). Fees range from roughly $20 to over $200 USD and are almost universally non-refundable regardless of outcome. Some countries charge an additional service fee at VACs. Retain every receipt and confirmation number you receive.
Attend a visa interview if required
Not all tourist visas require an interview, but some - particularly for longer stays or countries with stricter entry policies - do. Bring your original documents plus copies. Answer questions directly and honestly. Interviewers are primarily assessing whether you intend to return home after your trip, so be prepared to speak to your employment, family ties, and financial situation. The interview is typically brief, often under 15 minutes.
Track your application and receive your visa
Most consulates provide a reference number or online portal to check application status. Processing times range from a few business days for some e-visas to 8-12 weeks for certain countries. When your passport is returned with the visa, verify that all details - your name, passport number, travel dates, and visa validity - are correct before your departure. Errors on the visa itself should be flagged to the consulate immediately.
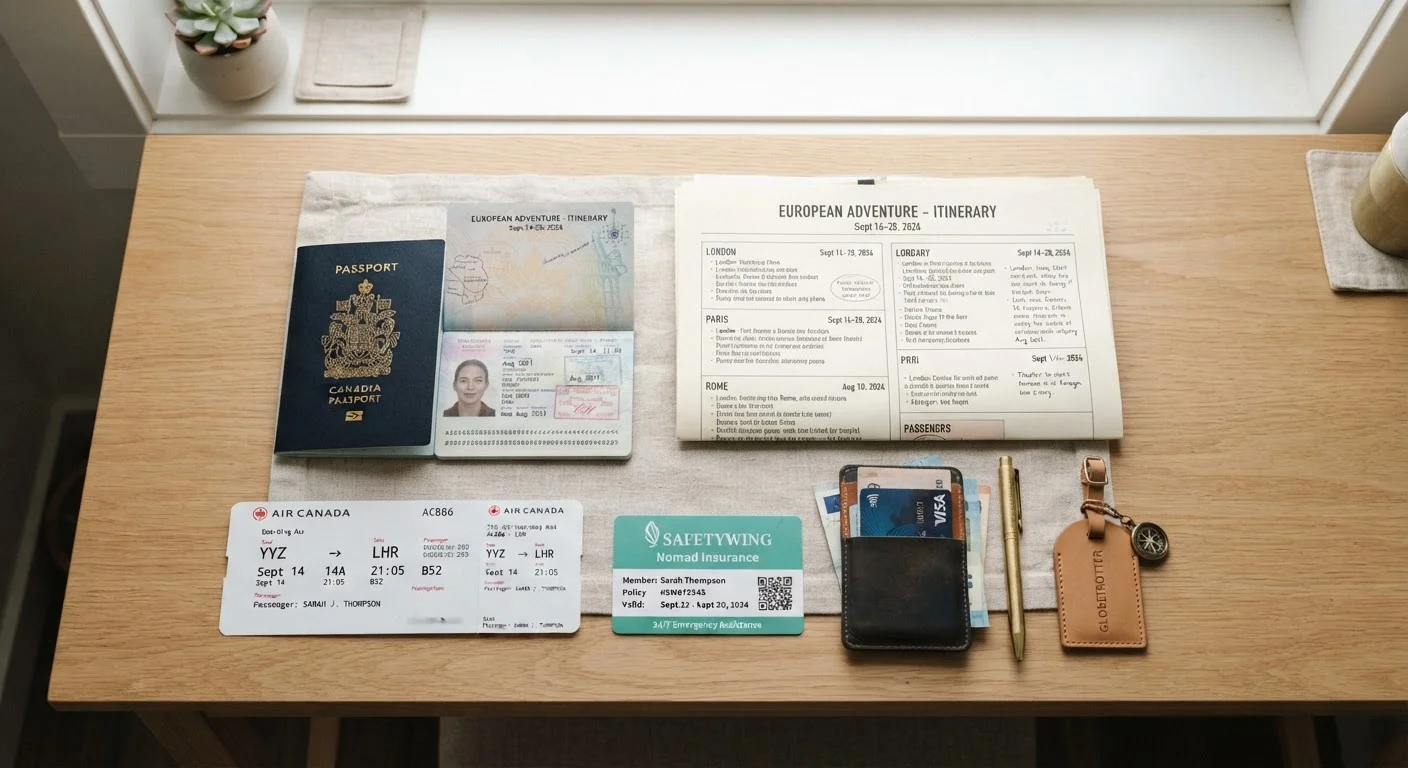
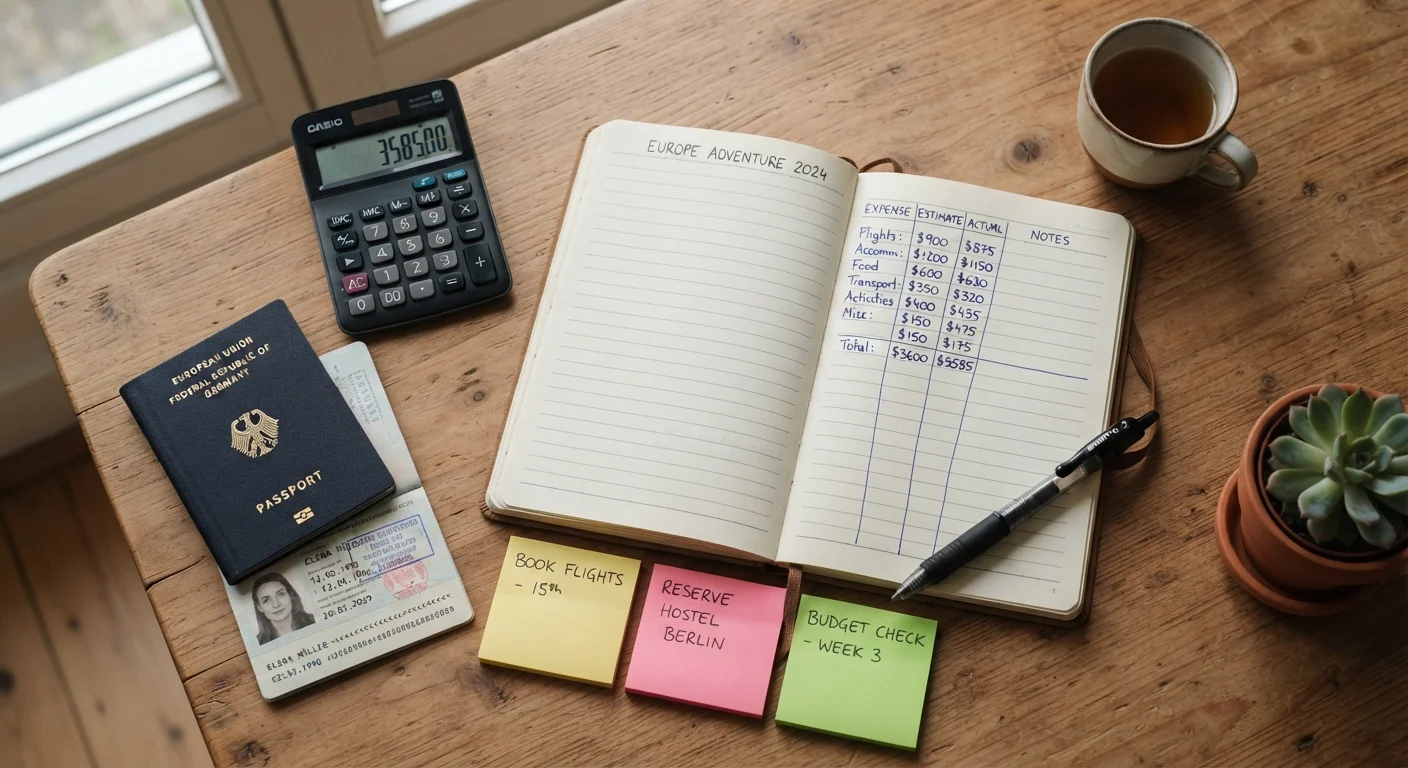
Once your visa is secured, shift your focus to the broader logistics of international travel. Our guide on travel documents every international traveler should carry covers what else to have on hand at the border - beyond just your visa. And if you haven't yet mapped out your trip costs, the travel budget planning framework is a logical next step once your visa timeline is set.
Visa Timelines Affect Everything Else You Book
Purchasing non-refundable flights or accommodations before your visa is approved is a significant financial risk. Some travelers book refundable options or wait until visa approval before confirming major trip expenses. If you're also arranging lodging abroad, review what to verify before confirming accommodations abroad - cancellation policies matter more when your trip depends on a third-party approval process.