Why Weatherstripping Matters
A small gap around an exterior door - even one you can barely see - allows conditioned air to escape year-round. In winter, that means your heating system works harder to compensate; in summer, cool air leaks out just as easily. Weatherstripping is the compressible seal that closes those gaps when the door is shut, and it deteriorates over time from repeated compression, moisture, and UV exposure.
Signs that your current weatherstripping needs replacing include visible cracks or tears, a noticeable draft when you hold your hand near the door edge on a windy day, or daylight visible around the door frame when the door is closed. Addressing it promptly is one of the simplest improvements you can make - and it pairs well with the broader seasonal checks outlined in our seasonal DIY maintenance checklist.
What you will need
Choosing the Right Weatherstrip Type
Not all weatherstripping is the same. The most common types for residential doors are:
- Foam tape (open- or closed-cell): Inexpensive and easy to apply, but best for low-traffic gaps. Closed-cell foam resists moisture better than open-cell.
- V-strip (tension seal): A folded plastic or metal strip that springs open to fill gaps along the sides of the door. Durable and nearly invisible once installed.
- Door sweeps: Attached to the bottom of the door itself to seal the gap between the door and threshold. Available in brush, rubber, or vinyl versions.
- Compression strips (bulb or D-profile): Rubber or vinyl strips that compress when the door closes. Excellent for uneven gaps and high-traffic doors.
For most standard exterior hinged doors, a combination approach works well: V-strip or compression strip on the sides and top, and a door sweep on the bottom. Measure each gap carefully before purchasing - typical door-side gaps range from 1/8 inch to 3/8 inch.
Tape measure
Measure door height, width, and gap size to purchase the correct length and type of weatherstripping.
Utility knife or scissors
Cut weatherstripping and door sweeps to the precise lengths needed.
Putty knife or paint scraper
Remove old adhesive residue and loosened paint from the door stop before applying new material.
Rubbing alcohol and clean rags
Clean and degrease the surface so adhesive weatherstripping bonds securely.
Hammer and finishing nails or screwdriver
Fasten nail-on V-strip, compression strip, or door sweeps that require mechanical fastening.
Drill with bits
Pre-drill pilot holes for door sweep screws to prevent wood splitting.
Step-by-Step Installation
Follow the steps below to remove old weatherstripping and install new material correctly. Work one side of the door at a time to avoid losing track of fit.
Remove the old weatherstripping
Open the door fully and pull away any existing weatherstripping from the door stop (the narrow strip of wood the door closes against). Peel adhesive-backed strips slowly to avoid tearing the wood surface. Use a putty knife to lift stubborn sections. Remove all remaining adhesive residue with rubbing alcohol and a clean rag, then let the surface dry completely.
Measure and cut new weatherstripping to length
Measure each section of the door frame - two sides and the top - separately, as they may not be identical. Cut your chosen weatherstripping material about 1/8 inch longer than each measured length. For the top piece on a hinged door, cut a 45-degree miter at each end so it meets the side pieces cleanly without a visible gap at the corner.
Install side and top weatherstripping
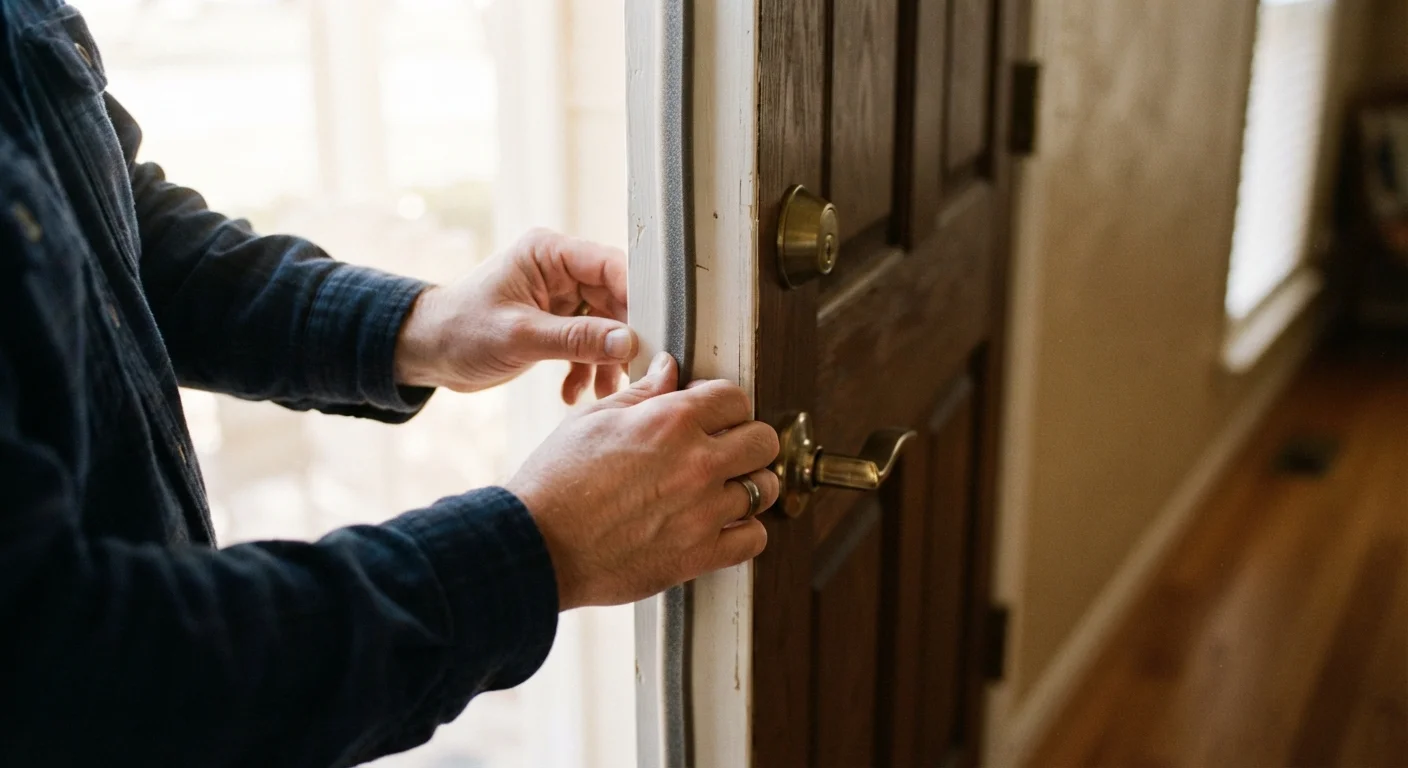
For adhesive-backed foam or compression strip: peel the backing and press firmly along the door stop, starting at the top and working down each side. For nail-on V-strip: position the strip with the open end of the V facing the outside, fold slightly open, and tack every 2 inches with finishing nails. Start at the top of each side run, keeping the strip flush with the door-stop face.
Install the door sweep
Close the door and mark the floor level on the door face using a pencil. Open the door, position the sweep so the rubber or brush flap sits just at the floor line (not dragging heavily), and mark the screw holes. Pre-drill pilot holes, then fasten the sweep with the provided screws. Test by closing the door - the sweep should contact the threshold evenly without making the door hard to operate.
Test the seal and make adjustments
Close and latch the door. Inspect all four edges for daylight or feel for air movement with your hand. If a gap remains on one side, check whether the door is racking slightly in the frame - a door that doesn't hang square may need a hinge adjustment before weatherstripping can fully close the gap. Minor compression differences can often be corrected by pressing the strip firmly again or adding a second layer of foam tape in a specific area.
Do Not Skip Surface Preparation
Adhesive weatherstripping applied to a dusty, oily, or painted-over surface will fail within weeks, regardless of the strip's quality. Always clean with rubbing alcohol and allow the surface to dry fully before installation. In cold weather, bring adhesive-backed strips indoors to room temperature before applying - cold adhesive bonds poorly.
Checking Your Work and Long-Term Maintenance
Once installation is complete, close the door and run your hand slowly around all four edges. You should feel no air movement. On a bright day, check for any visible light passing through - if you see any, the strip may need to be repositioned or the door may need a minor adjustment at the hinges.
Most weatherstripping lasts two to five years under normal use, though high-traffic doors may need attention sooner. Adding a weatherstripping check to your twice-yearly exterior walk-around - as described in our seasonal exterior home maintenance checklist - helps you catch wear before drafts return. Replace sections that show cracking, compression loss, or adhesive failure promptly rather than waiting for a full replacement cycle.