Why a Pre-Return Checklist Matters
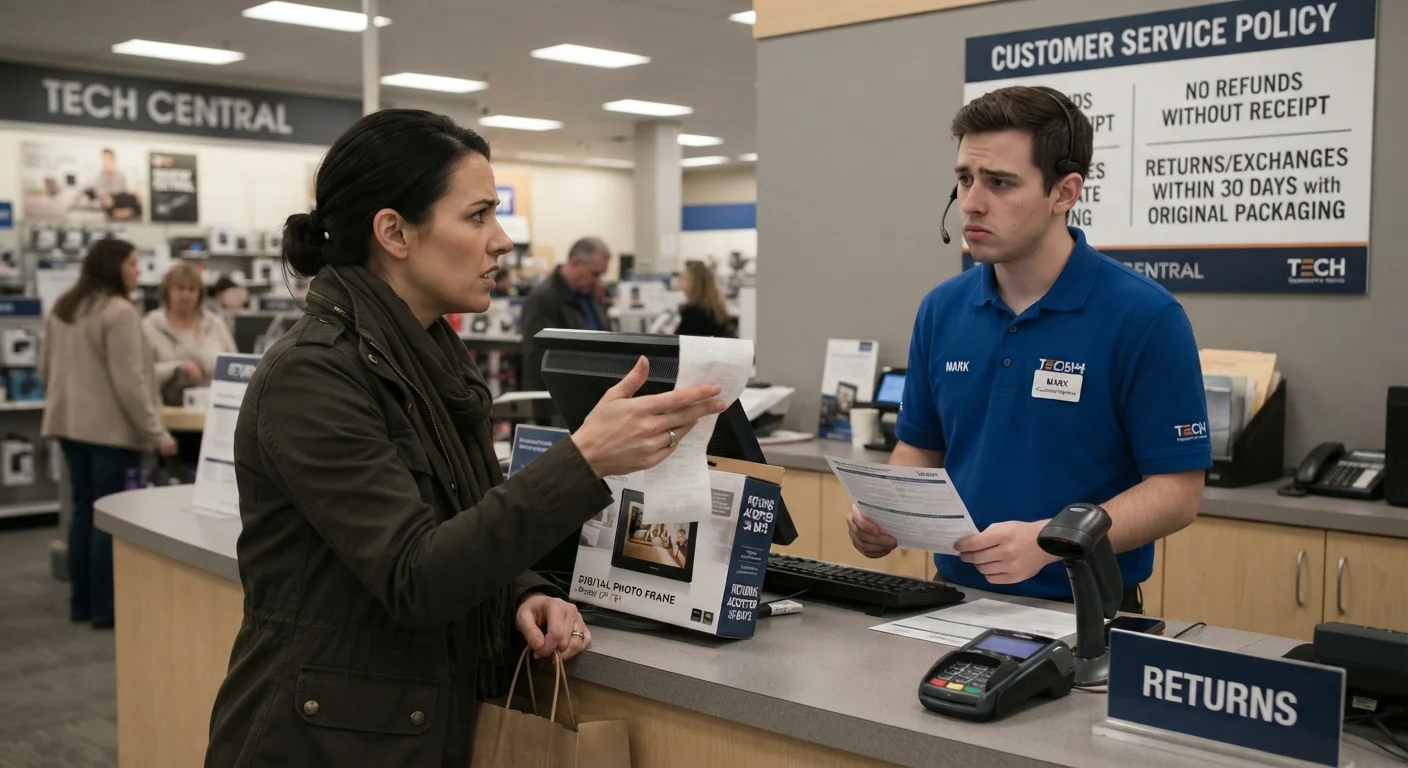
Most return rejections are not random - they follow a predictable pattern. A shopper assumes returns are straightforward, skips the fine print, and ships the item back missing original packaging or past the return window. The retailer declines the return within policy, and the shopper has little recourse.
Working through a structured checklist before you send anything back closes that gap. It protects you whether you're returning a defective appliance, an ill-fitting garment, or a gift that missed the mark. If you want to build better habits upstream, see our pre-purchase research checklist - verifying a retailer's return policy before buying is the smartest move of all.
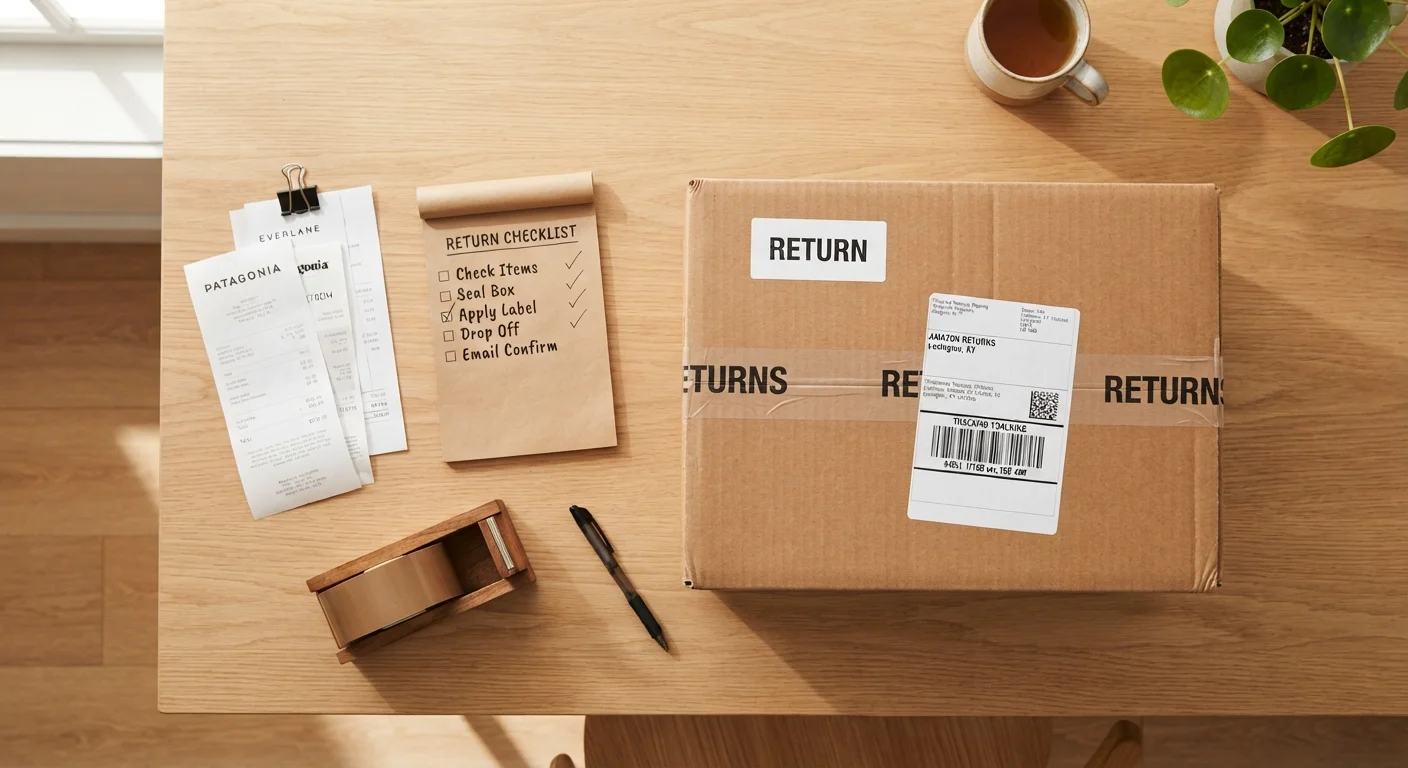
The checklist below is organized into logical stages: confirming you're eligible, preparing physical evidence, packaging the item correctly, and protecting yourself financially if something goes wrong.
Confirm Eligibility
Gather Documentation
Photograph and Inspect the Item
Pack and Ship Carefully
Follow Up
Essential Tools for a Smooth Return
You don't need special equipment, but having the right materials on hand prevents last-minute scrambles that cause mistakes.
Smartphone camera
Document the item's condition, packaging, and shipping label before and after packing.
Original packaging and accessories
Many retailers require original packaging for a valid return; locate these before starting.
Proof of purchase
A receipt, order confirmation email, or packing slip is typically required to initiate a return.
Padded shipping materials
Protect the item during transit if the original box is unavailable or insufficient.
Printer or mobile printing access
Print prepaid return labels, return authorization forms, or policy screenshots to include in the box.
Credit card statement or account access
Verify the original payment method so the refund posts to the correct account and to support a chargeback if needed.
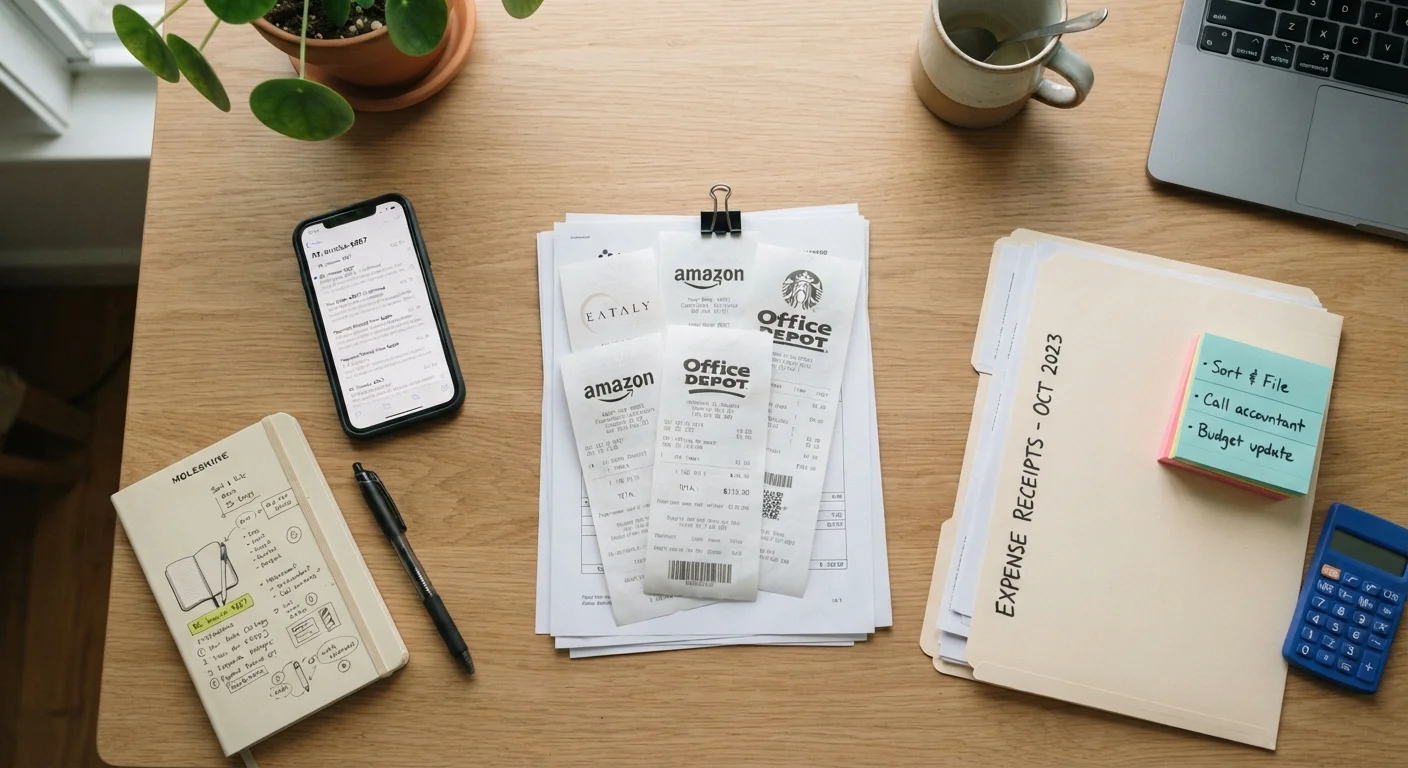
One often-overlooked habit: organize your documentation before you need it. Our guide to documenting purchases the right way explains exactly what to save and how to store it so it's retrievable when a dispute arises.
What to Do If Your Return Is Refused
Even a well-prepared return can hit a wall. If a retailer rejects your return and you believe the decision is inconsistent with their stated policy, escalate methodically.
Avoid Informal Agreements Without Written Confirmation
If a customer service representative makes a verbal or chat-based promise - such as waiving a restocking fee or extending the return window - get it in writing before acting on it. Ask the representative to send a confirmation email summarizing the agreement. Without documentation, informal promises are difficult to enforce if the return is later disputed.
Start by contacting the retailer's customer service in writing - email creates a timestamped record. Reference the specific policy language and your documentation. If the retailer remains unresponsive, file a complaint with your state's consumer protection office or the Better Business Bureau. For purchases made on a credit card, a chargeback request through your card issuer is a legitimate option when a retailer has clearly failed to honor its policy - but use it as a last resort, not a first move.
It's also worth understanding which common assumptions about return policies can work against you. Return policy myths that cost shoppers money covers misconceptions that frequently lead to preventable losses.