Why Caulk Keeps Failing (and It's Usually Not the Product)
A fresh caulk line can make any bathroom or kitchen look crisp and watertight - until it starts peeling six months later. If you have recaulked the same joint more than once and watched it fail again, the instinct is to blame the product. In most cases, the real culprit is the process.
Caulk is a gap-sealer that depends almost entirely on surface adhesion. It cannot grip a surface that is wet, oily, or already coated in failing old caulk. Understanding why joints fail is the first step toward a repair that actually holds. The mistakes below represent the most consistent patterns we see - and each one is preventable.
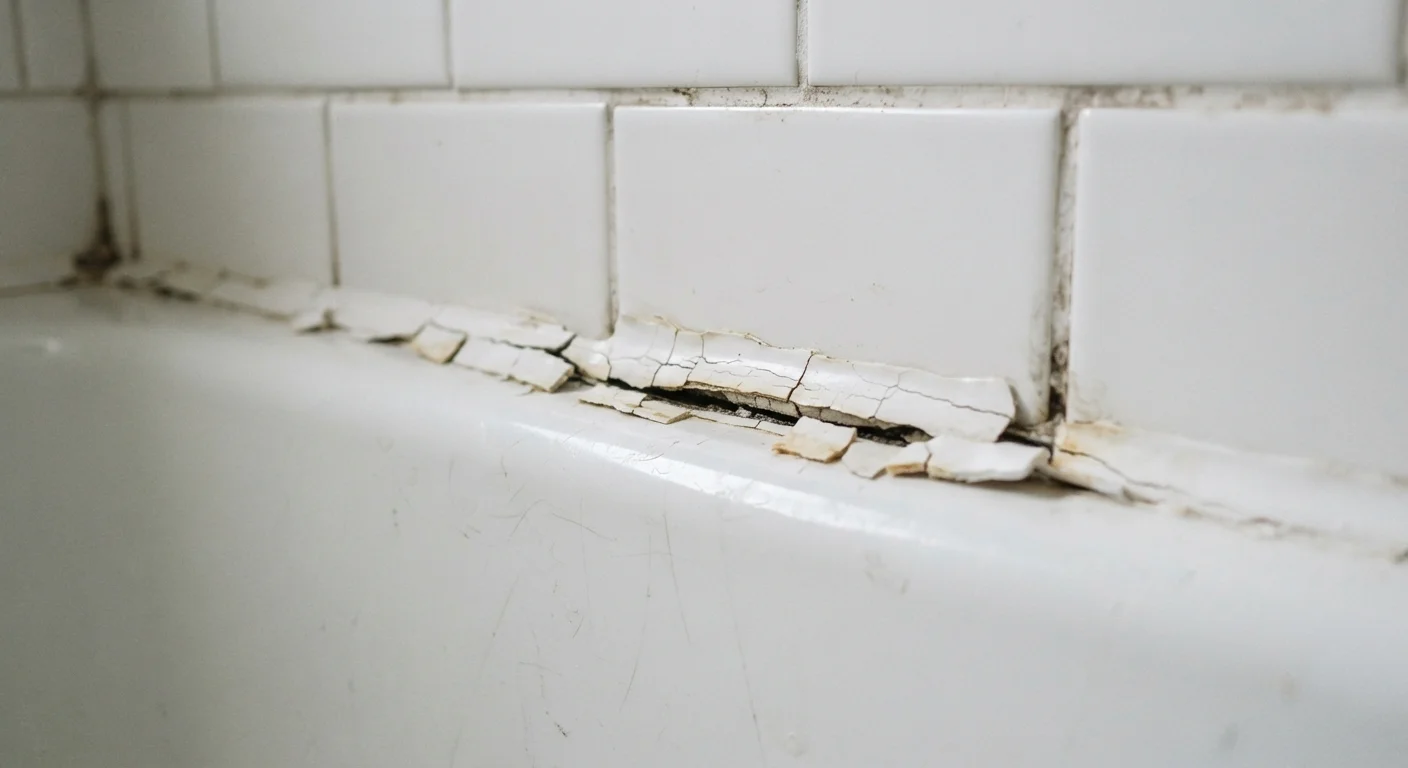
Applying caulk over an existing bead without removing the old material first.
Why it happens: It seems like a time-saver, and the fresh caulk looks clean at first. Homeowners often underestimate how much the degraded layer beneath undermines adhesion.
Skipping surface drying time and applying caulk to a damp substrate.
Why it happens: Bathrooms and kitchens are naturally wet environments, and it is easy to underestimate how long surfaces need to dry after cleaning or recent use.
Using interior latex caulk in wet areas that require a silicone or siliconized latex product.
Why it happens: Latex caulks are widely available and easy to apply, which leads many DIYers to reach for them regardless of the application. Product labeling is not always prominent about moisture limitations.
Applying too thick a bead and not tooling it into the joint.
Why it happens: More material can feel like more protection. Without tooling, the caulk sits proud of the surface rather than pressing into the joint for full contact.
Disturbing or stressing the joint before the caulk has fully cured.
Why it happens: Caulk skins over quickly - sometimes within 30 minutes - which creates a false impression that it is ready to use. Full cure, however, takes 24 to 48 hours or longer depending on the product and conditions.
Getting It Right: A Process-First Approach
Durable caulk work is less about technique and more about patience at each stage. The sequence - remove, clean, dry, apply, tool, cure - matters as much as any individual step. Skipping or rushing any phase compounds the risk of early failure.
Don't Caulk in Cold or Humid Conditions
Most caulks require temperatures above 40°F and relatively low humidity to cure properly. Applying caulk in a cold garage, a steamy bathroom, or on a damp surface dramatically increases the chance of adhesion failure. Check the product's temperature and humidity guidelines before you start, and ventilate the work area well.
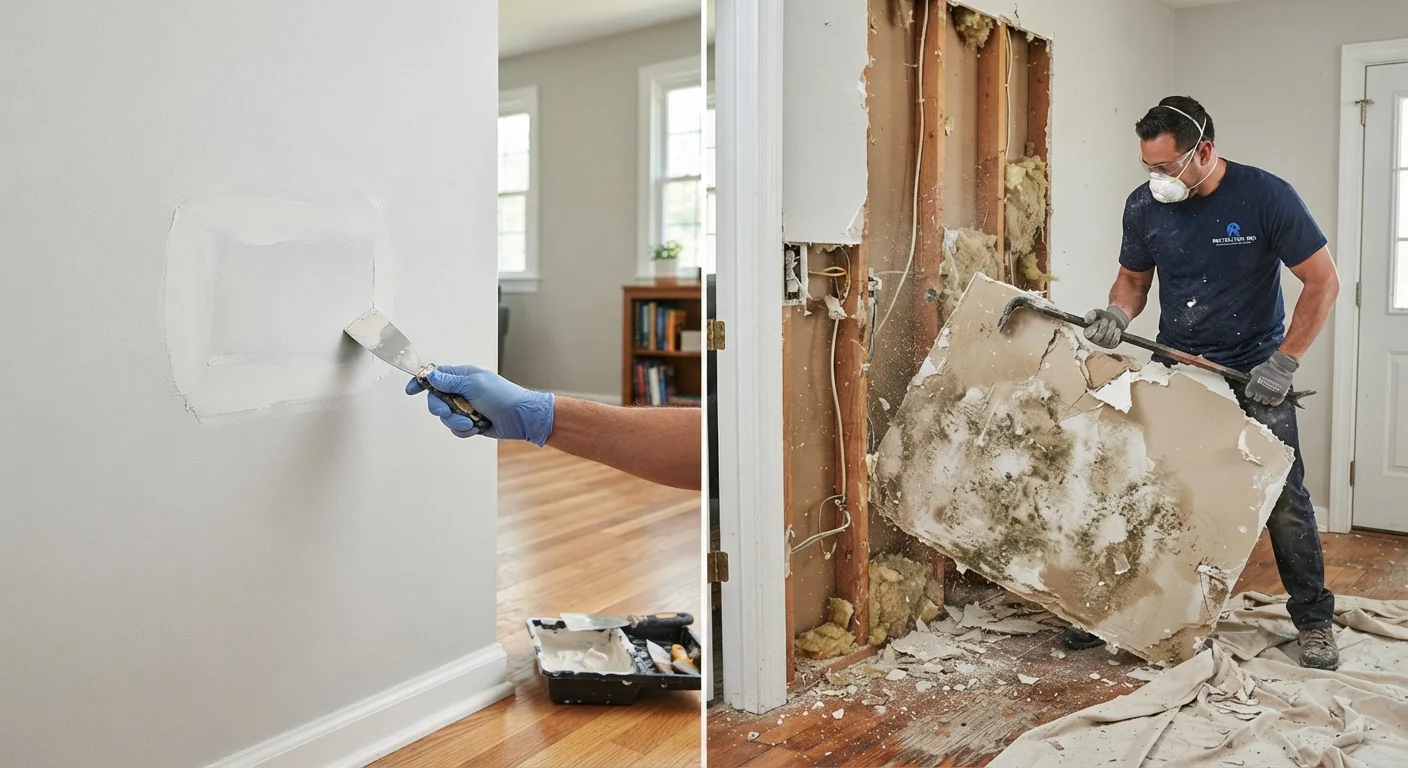
When the joint itself is showing signs of deeper structural movement - gaps that open and close with seasonal temperature changes, or cracks that consistently return despite correct prep - recaulking alone may not be sufficient. In those situations, consider whether you are addressing a symptom rather than the underlying cause. Our guide to patching vs. replacing can help you decide whether a repair will hold or whether a more comprehensive fix is warranted.
Never Caulk Over Mold or Mildew
If you see dark staining beneath old caulk, treat the surface with an appropriate mold-killing cleaner and allow it to dry fully before recaulking. Sealing over active mold traps moisture and allows the problem to worsen behind the new caulk bead. When mold appears to penetrate beyond the surface, consult a professional before proceeding.
With the right prep and the right product, a well-tooled caulk joint in a bathroom or kitchen should provide several years of reliable service. When it does eventually need refreshing, the removal and reapplication process will feel far less daunting once you understand what you are doing - and why each step matters.
~5 years
Average lifespan of bathroom caulk
Industry guidance from building and construction trade organizations generally places standard silicone or latex bathroom caulk at three to five years in high-moisture environments before reapplication is warranted.
80%+
Of caulk failures linked to poor prep
Professional applicators and home inspection reports consistently cite inadequate surface preparation - not product failure - as the leading driver of premature caulk breakdown.