Understanding What Your Grout Actually Needs
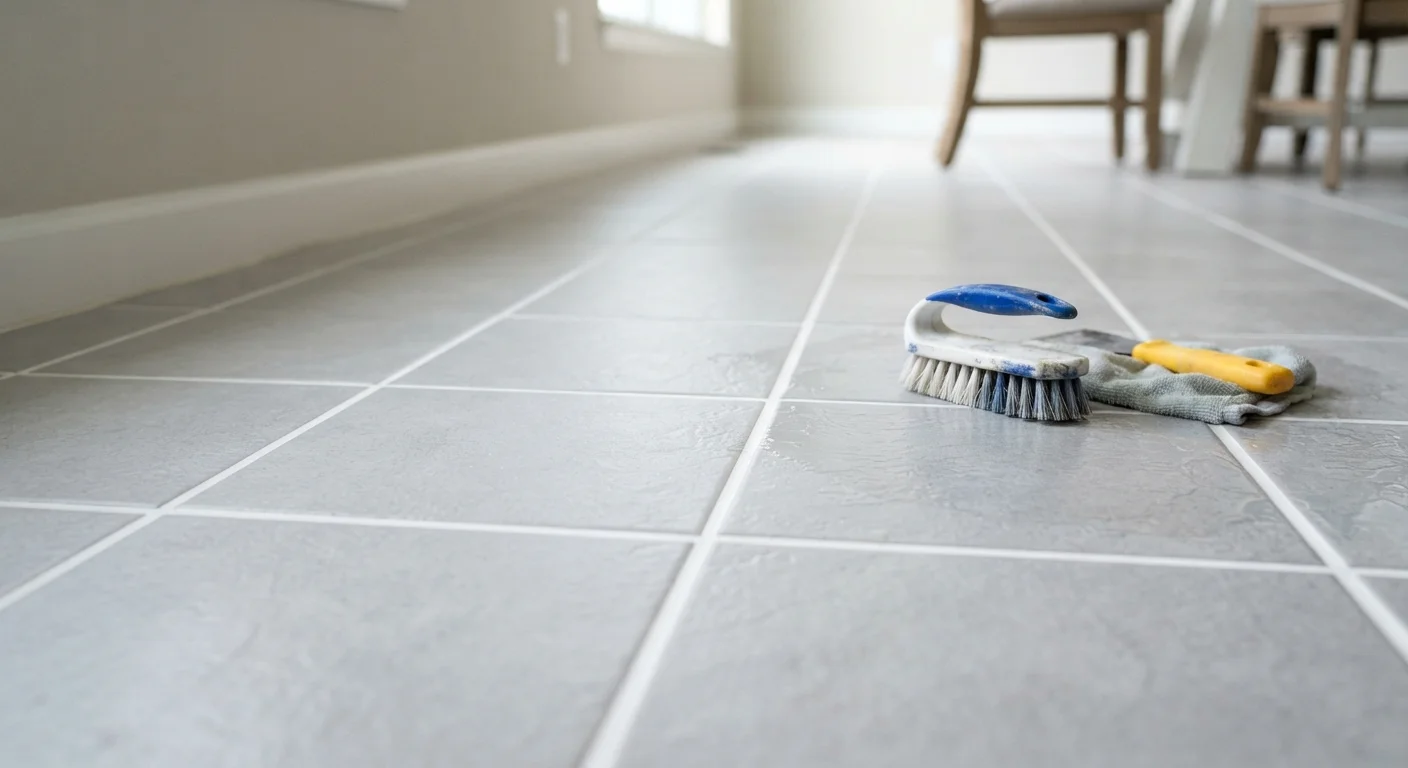
Before picking up a scrub brush or a grout saw, take a few minutes to assess the condition of your tile joints. The right approach depends entirely on how far the grout has degraded - and choosing the wrong method wastes time and money.
Run your finger firmly along several grout lines. If the grout feels solid and the discoloration is surface-level - yellowing, graying, or staining - deep cleaning followed by recoloring is likely all you need. If grout is soft, crumbly, or missing in sections, or if you see tile edges that flex slightly when pressed, the grout has failed structurally and must be removed and replaced.
Also distinguish between sanded and unsanded grout. Sanded grout (used for joints wider than about 1/8 inch) has a rougher texture; unsanded grout is smoother and used in narrower joints. Replacement grout should match the original type. Check your tile installation documentation if available, or examine the texture of intact grout lines.
Efflorescence Is Usually a Surface Problem
Efflorescence - a chalky white powder that appears on grout surfaces - is caused by mineral salts migrating to the surface and is typically a cleaning problem, not a structural one. It usually responds well to a diluted white vinegar solution or a dedicated efflorescence remover. Address it before recoloring or sealing, as it can interfere with product adhesion.
Efflorescence - a chalky white powder that appears on grout surfaces - is caused by mineral salts migrating to the surface and is typically a cleaning problem, not a structural one. It usually responds well to a diluted white vinegar solution or a dedicated efflorescence remover.
Tools and Materials You Will Need
Gathering everything before you start prevents mid-project delays and keeps the work area safe.
Stiff-bristled grout brush
Scrubs grout lines without scratching tile surfaces during cleaning.
Rubber grout float
Used to press and spread new grout evenly into tile joints.
Grout saw or oscillating multi-tool
Removes old, failed grout from joints before regrouting.
Grout colorant or stain
Restores or changes the color of intact but discolored grout without removal.
Penetrating grout sealer
Protects cleaned or new grout from future staining and moisture penetration.
Shop vacuum
Removes grout dust and debris from joints after saw work, ensuring a clean bonding surface.
Rubber gloves and safety glasses
Protect hands from cleaners and eyes from grout dust during removal work.
For cleaning, an alkaline cleaner (such as an oxygen-bleach powder mixed with warm water) is safer for grout than acidic cleaners, which can etch the surface over time. Avoid bleach on colored grout - it can strip pigment unevenly.
For recoloring, water-based grout colorant or stain is applied with a small brush or applicator pen. It penetrates and bonds to the existing grout surface, changing its color while adding a protective layer.
For regrouting, a grout saw or oscillating multi-tool with a grout removal blade is used to cut out old material to a depth of about 1/4 inch before new grout is packed in.
Step-by-Step: From Cleaning to Regrouting
Work through the steps in order. Each phase builds on the one before, and skipping ahead leads to adhesion failures and wasted effort.
Deep-clean the grout lines
Mix an oxygen-bleach cleaner with warm water according to package directions. Apply generously to grout lines and allow it to dwell for 10-15 minutes. Scrub with a stiff-bristled grout brush using short, firm strokes along the joint - not across tiles. Rinse thoroughly with clean water and allow the surface to dry completely (at least 24 hours for recoloring or regrouting work to follow).
Apply grout colorant (if recoloring)
Once grout lines are fully dry, apply colorant using a small brush, applicator bottle, or pen applicator. Work the colorant into the grout line with light, consistent pressure. Wipe excess colorant off tile faces with a barely damp sponge before it dries - typically within 5-10 minutes of application. Allow the first coat to cure per the product's instructions (usually 30-60 minutes) before applying a second coat if deeper coverage is needed.
Remove failed grout (if regrouting)
Using a grout saw or oscillating tool with a grout removal blade, carefully cut along the center of the grout joint to a depth of approximately 1/4 inch. Keep the blade inside the joint to avoid chipping tile edges. Vacuum out all loose debris thoroughly. Dampen the joints lightly with water before applying new grout - dry substrate pulls moisture from fresh grout too quickly, weakening the final bond.
Mix and apply new grout
Follow manufacturer mixing instructions precisely - grout mixed with too much water shrinks and cracks as it cures. Mix to a peanut-butter consistency. Using a rubber grout float held at a 45-degree angle, press grout firmly into the joints, working diagonally across the tile surface. Make a second diagonal pass to pack joints fully and remove excess from tile faces. Allow grout to set for 15-20 minutes, then clean tile surfaces with a damp sponge using wide, circular strokes, rinsing the sponge frequently.
Seal the grout
Allow new or recolored grout to cure fully - typically 48-72 hours for cleaning and recoloring projects, and up to 7 days after regrouting, depending on the product. Apply a penetrating grout sealer using a small applicator brush or roller, working it into the joints without flooding the tile surface. Wipe away any sealer that lands on tile faces before it dries. Most sealers require a second coat after 10-15 minutes for adequate protection.
After completing any of the three main phases - cleaning, recoloring, or regrouting - apply a penetrating grout sealer once the surface is fully dry. Sealer is the single most effective way to extend the life of your work and repel future staining.
Shower and Wet-Area Grout Requires Extra Attention
Failed grout in shower enclosures, around tub surrounds, or near floor drains is not just cosmetic - water that penetrates missing or cracked grout can damage the substrate, subfloor, and framing behind the tile. In these areas, prioritize structural repair over cosmetic fixes, and ensure all joints are fully sealed before resuming regular use of the space.
Troubleshooting Common Problems
Colorant isn't bonding evenly: The grout was likely not clean or dry enough before application. Strip the colorant with the manufacturer's recommended remover, re-clean thoroughly, allow 24-48 hours of drying time, and reapply.
New grout is cracking within days: This usually indicates the joint wasn't cleaned deeply enough, leaving loose debris that prevented a solid bond, or new grout was mixed too wet. Remove cracked sections and regrout carefully.
Grout haze on tile faces: A light film of dried grout left on tile is called grout haze. It is easiest to remove within 24 hours using a damp sponge. For cured haze, a commercial grout haze remover applied with a soft cloth typically resolves the issue without harming the tile glaze.
Persistent dark staining that won't clean: If mold or mildew has penetrated porous grout deeply, surface cleaning alone rarely eliminates it. In these cases, removal and regrouting is the more reliable long-term fix. Improving ventilation in the area - particularly in bathrooms - helps prevent recurrence.